Very needless to say, I love ghee. And I love honey. And I love coconut. So naturally, the idea of a honey coconut ghee made me smile. Since Xmas is rolling in right around the corner, I racked my brain for all of the little edible gifts I could make this year… typical Libra, I went through about fifty ideas, changing my mind right and left. It wasn’t until I thought of this magical concoction that I knew I’d found the perfect edible gift. Who wouldn’t be thrilled with some sweet, creamy, slightly salty ghee?! It’s like love in jar, ready to be spread on everything.
The beauty of this ghee, besides the taste of course, is the ease. I whipped these guys yesterday just before heading over to my fam’s- I made three jars within a couple of hours of the gathering and had them all done in time! And I’m making a few more today for the fam and friends I’ll see tomorrow. It’s easy, quick, and scrumptious- three things I like. {Need ideas for what to spread this on? How about waffles, or toast, muffins, sweet potatoes, butternut squash, oatmeal, or pancakes?! Okay I’ll stop there… your imagination can run wild.}
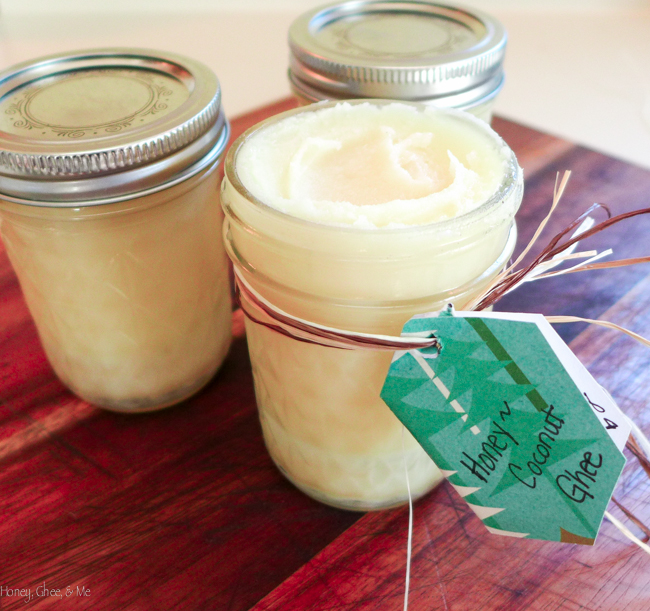
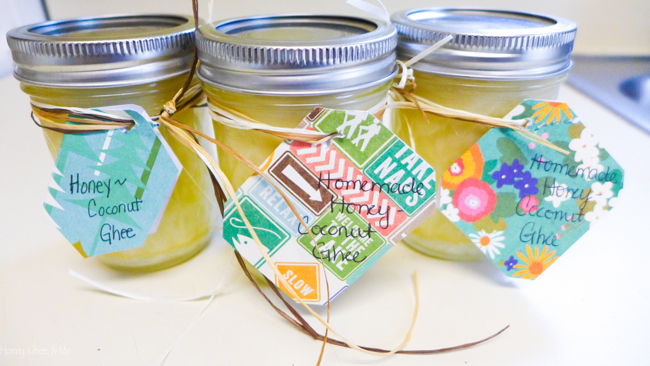
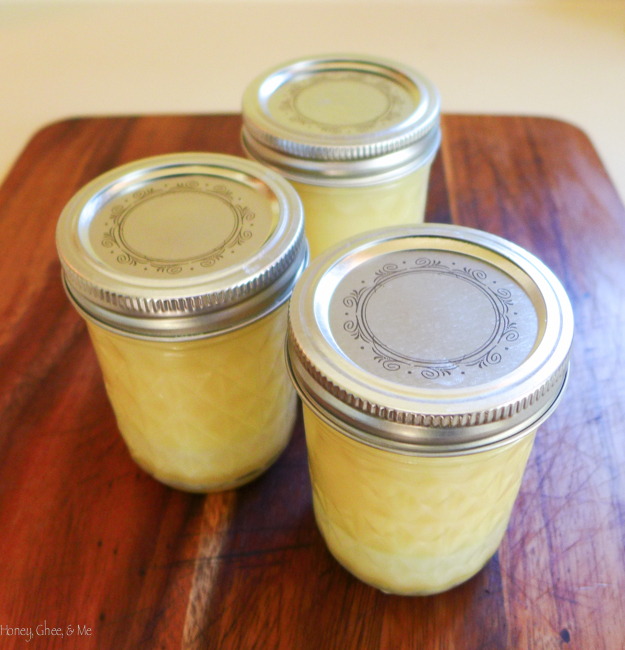
You could easily make these look cute and gifty… like I said, I was in a huge hurry, so all I could manage to do was tie some tweed around them and slap on a little decorative paper with a note inside. But really it’s what on the inside that counts… who cares what it looks like when it tastes like this?! 😉
You could easily make this with pre-made ghee. In that case, all you’d do is add the ghee, honey, coconut oil, and salt together in a pot and either whip it or stir it until blended and creamy. That would cut out some of the time and make this simple treat an even simpler one. I enjoy making ghee from scratch {it’s VERY easy} and figured I’d save a few bucks by doing it myself. The cost of buying it at the store versus just buying some butter is a pretty significant difference. But either way works, so choose what’s best for you!
Once the ghee is jarred, it will keep for months in the fridge… not that it will last that long 😉
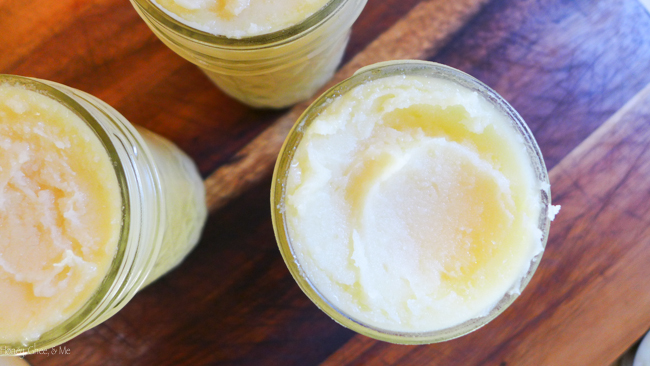 This recipe makes three 8-ounce jars. If you’d like to make a personal-sized portion, quarter the recipe.
INGREDIENTS
16 tbsp unsalted butter {preferably organic grass-fed}
8 tbsp coconut oil {this company makes a one}
4 tsp honey {preferably raw}
1/4 tsp salt
*you’ll need little glass jars with lids… this will fill 24 ounces
DIRECTIONS
To make ghee…
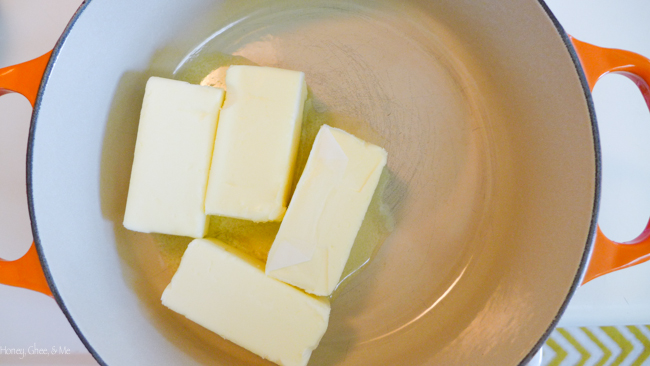
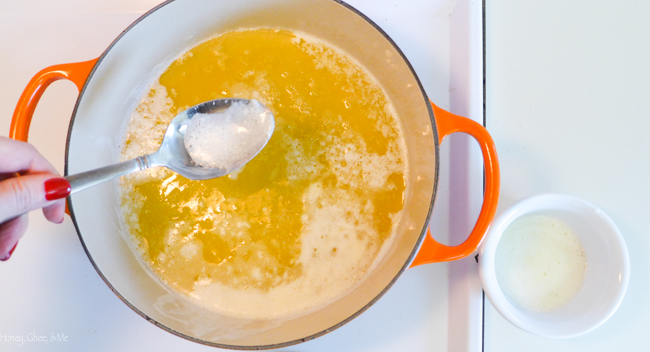
In a large pot, heat the butter over low-medium heat
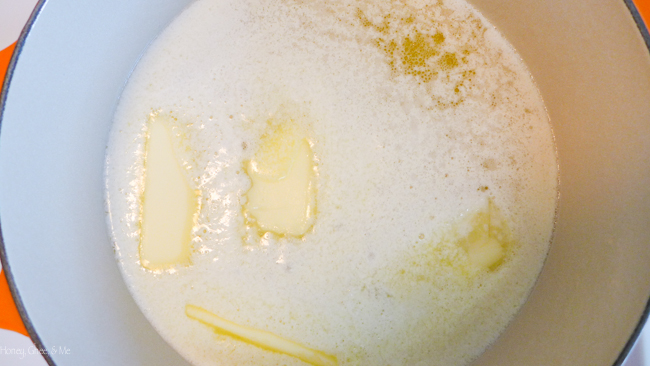
Without stirring, let the butter cook down and melt slowly
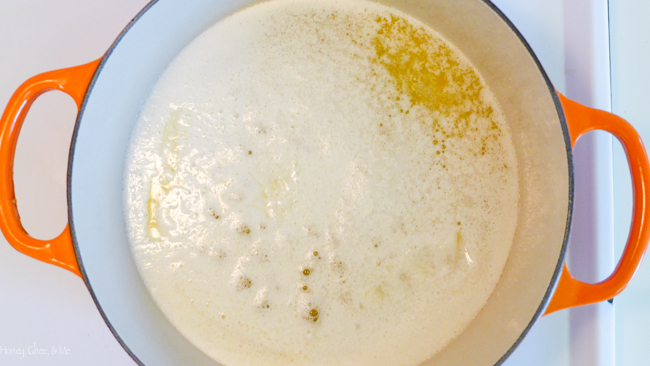
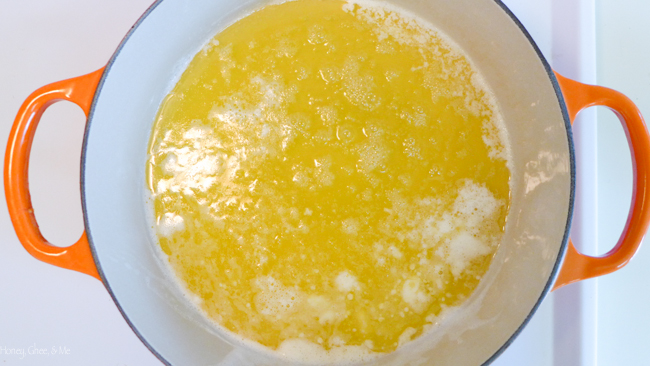
As it continues to cook, a white foamy layer will develop, and the color should begin to darken
Continue to let it simmer… it should take about ten minutes or so for it all to separate
Random side note: I recently learned that differences in ghee’s color, beyond being dependent
on how long the ghee cooks, can also be due to seasonal changes-
ghee made in the summer tends to be more yellow because the cows are grazing
longer hours and have more chlorophyll in their systems
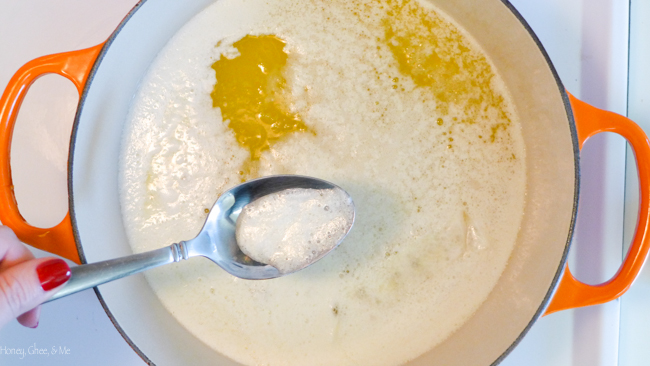
Using a spoon, carefully scrape off the top layer of foam
Discard the foam… that’s not the stuff you want
Get as much of it out as you can with the spoon…
it doesn’t have to be perfect since it will get strained
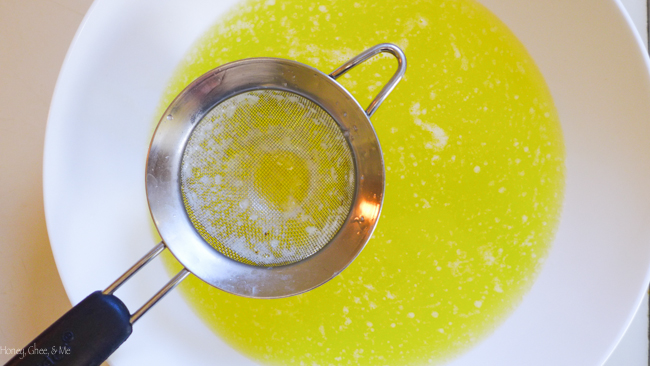
Next, using a fine sieve or cheesecloth (coffee filters work, too),
strain any remaining foamy particles until you have a clear foam-free liquid
To make plain ghee, you’d go right to jarring,
but we’re continuing on to the coconut-honey part now 🙂
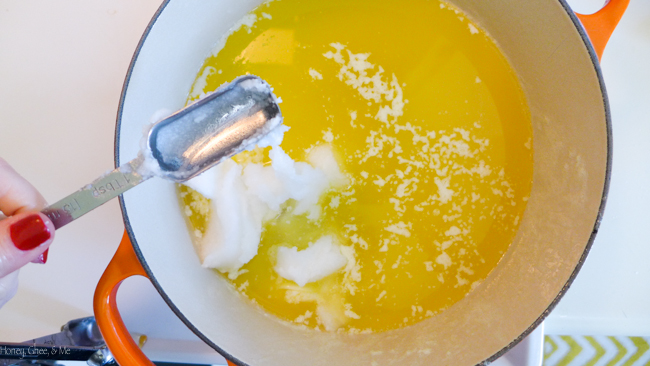
Return the ghee back to the pot (away from the heat)
Add the coconut oil to the pot
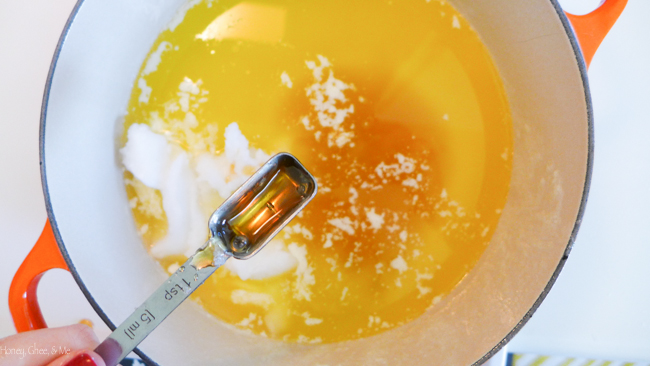
Then add the honey and salt
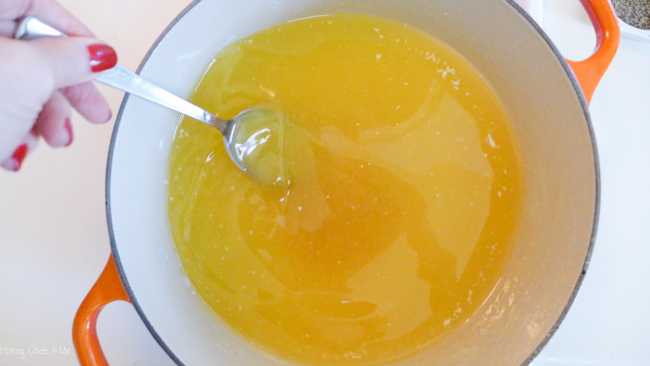
Stir well until completely mixed in {the oil and honey will melt into the ghee}
If you’d like, you can give it a teeny taste at this point to make sure
you like the ratios of saltiness to sweetness… adjust however you may want
You’re just about done… easy right?!
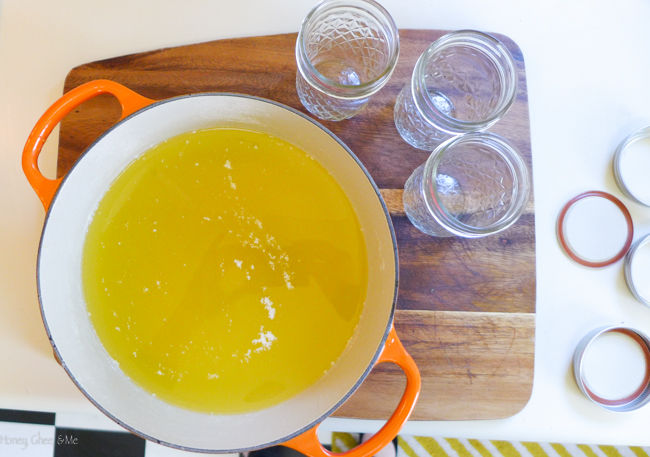
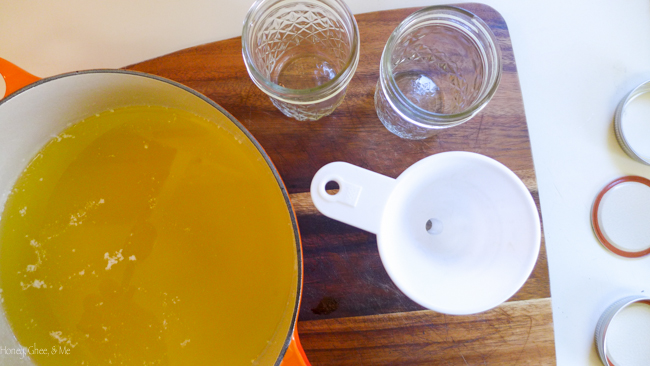
If they aren’t already, sterilize and clean the jars {silly to even say, I know!}
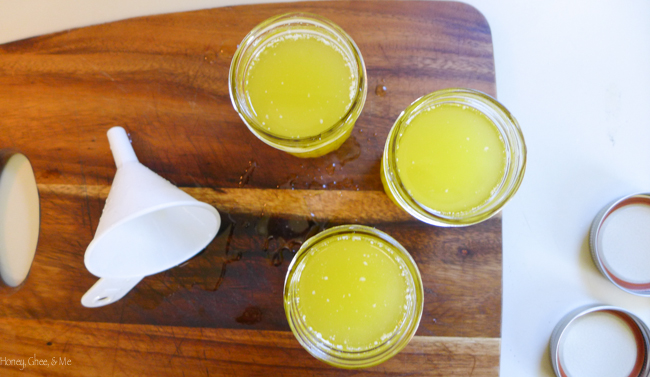
Using a funnel {not necessary, but very helpful}, pour the ghee mixture into the jars
That’s it!
Cover them with the lids, refrigerate, and in about a half hour,
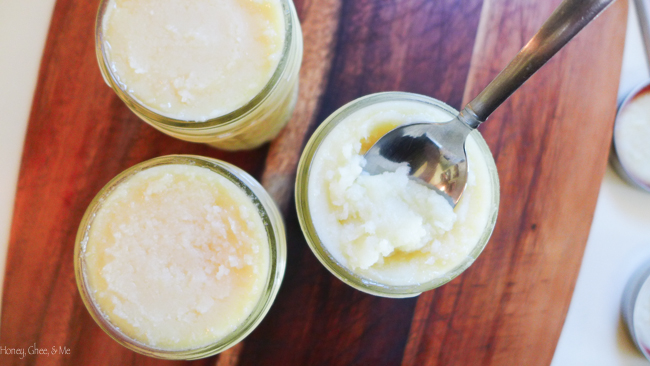
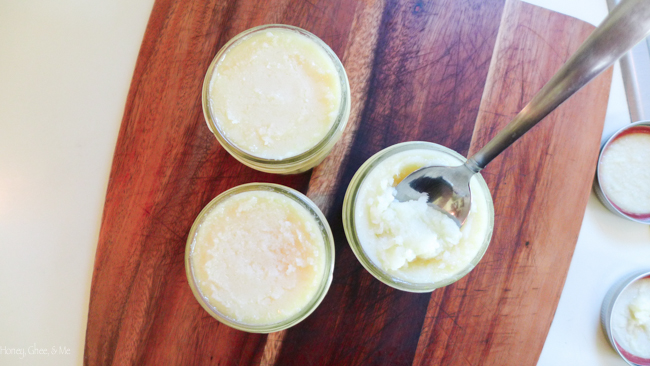
your ghee will begin to solidify and will be ready to gift… or use! 🙂
{About ten minutes after refrigerating them, I shook them up a little
and turned the jars upside down so that it would all solidify evenly…
not super important, but it helps to make it all settle in balance}
When you are ready to eat, simply scoop the goodness up and enjoy on your
favorite muffins, pancakes, sweet potatoes, squash, or whatever else you want it on…! 🙂
Happy gifting and nibbling!!


Hi. I was wondering how much less butter to use if I wanted to make this with butter instead of ghee?
Thanks!
Hi Lisa! I’m sorry, I don’t completely understand your question… do you mean you’d like to melt the butter down and then add the honey and coconut oil without having to scrape off the foam (which is essentially what makes it ghee)? Let me know and I’ll see if I can help!
Thanks!! 🙂
I’m sorry, yes, that is what I meant. I just wondered how much of the butter was lost when you strained off the whey. 🙂
I don’t imagine it’d make too much of a difference. If you want, you could taste the mixture after you’ve added the honey and coconut oil to determine if you think more is needed, but I would imagine using the same amount of everything will be fine! Hope that helps!! 🙂
Thank you!
LOVE this idea! I love ghee so much, but I’ve never made my own. I really need to. Thanks so much for sharing this. Great gift idea too! Pinned it.
Hi Emily! Thank you!! Have been loving yours too! 🙂
If you are using pre-made ghee, what is the ratio of ghee to coconut oil in the recipe. Is it 1:1?