I’ve been loving this Whole Foods project I’ve been working on. It feels like I’m on my very own show of Chopped every week. They give me an ingredient, I create a recipe highlighting it. It’s been really fun each week to come up with something new. I love a good challenge… it’s actually what keeps cooking fun for me. It’s the challenge of seeing if I can create, successfully, the visions I craft in my mind. So this project is perfect for me.
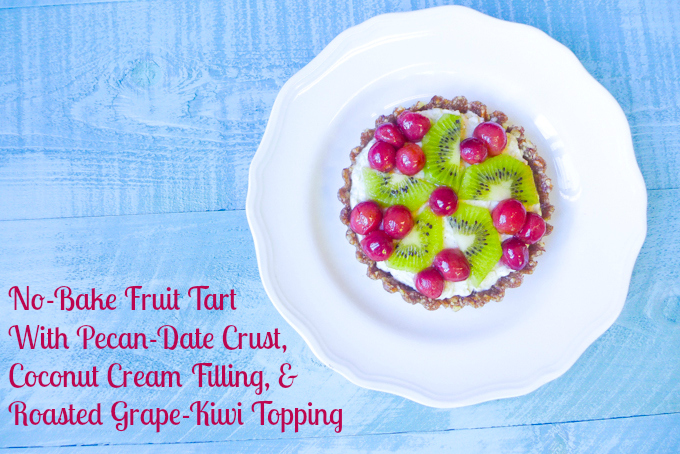
This week, the ingredient is grapes. Grapes are on super sale this Friday, so I came up with a recipe highlighting grapes so that you, the shopper/cooker/eater, can have something fun to make while taking advantage of a good steal. I initially thought of a Waldorf-style chicken salad with grapes, but wanted to get a little more creative and have fun with it. I wanted to roast some grapes! I love roasted grapes (HERE’s a crostini I made a few years back- I’ve loved them ever since). So I came up with this. A light dessert topped with some honey-lemon roasted grapes. This was a vision I wasn’t so sure would pan out… it’s unlike anything I’ve ever made before, but to my happy happy surprise, it work exactly as I’d envisioned. Happy bellies all around this week. ♥
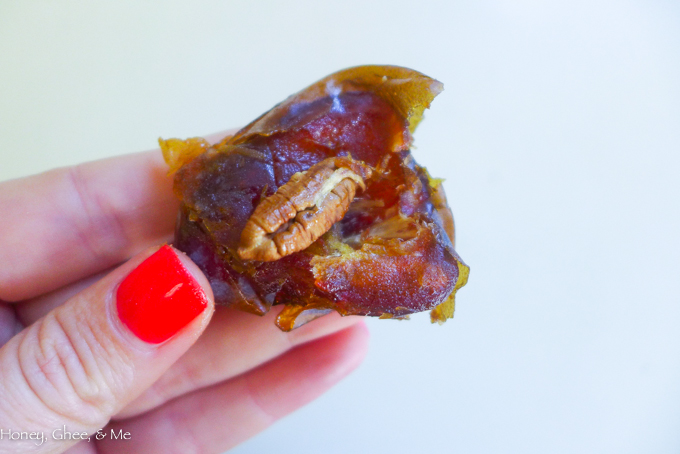
I really wanted to create a no-bake treat. Baking is fun sometimes, but it adds an extra level of time, heat, and skill. Not to mention fear… baking scares. So I went with a crust I’ve made before… the always amazing pecan-date combo. The dates act as a glue, so you need no flours, eggs, or anything to make it hold. Just dates. I added in a little coconut oil and a dash of salt too, just to give it an added oomph.
The filling was a different story… I knew where I wanted to go with it, but I had no idea how I was going to get there. So I researched. And researched. And researched. I ended up taking some tips from Against All Grain’s Vanilla Bean Custard. Of all the things I stumbled upon, it seemed closest to what I was aiming to create. Plus, she’s pretty fabulous… I knew taking a page from her book could result in no wrong. So I used her methods for the custard, but added in my own twists to make it work for my roasted grape tart vision.
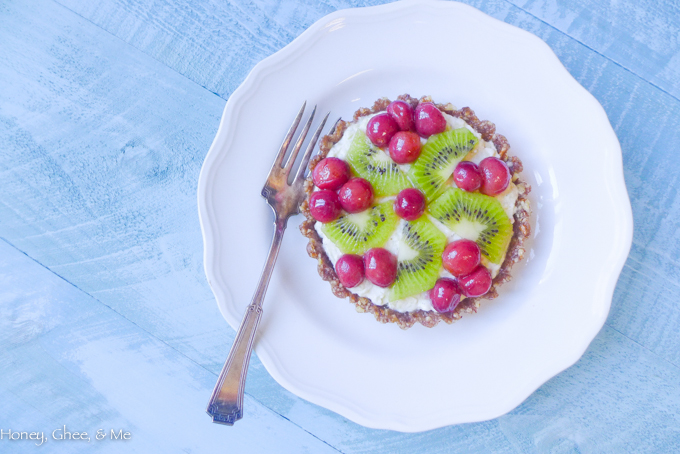
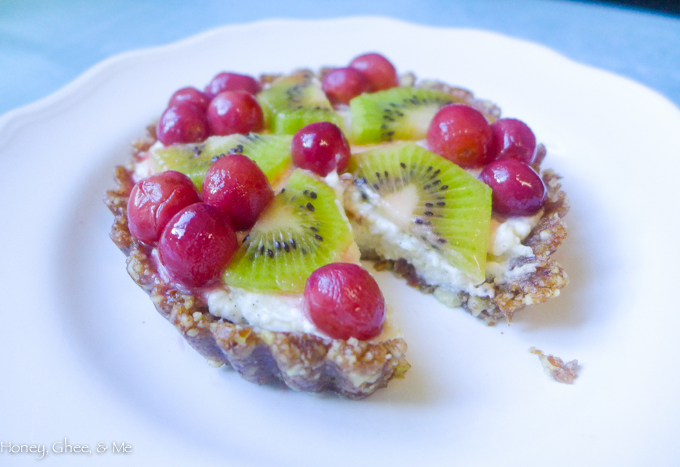
For the topping, you could use any fruit you want. Like I said, I was itching to roast some grapes, but strawberries, blueberries, mango… it’d all be good. I added lemon to the filling to give it a bright light taste, so refreshing fruits would work well. I thought kiwi would go great with the roasted grapes, so I went with that duo. I really liked it. Plus, it’s perfect for spring and summer… I like eating what’s in season. ♥
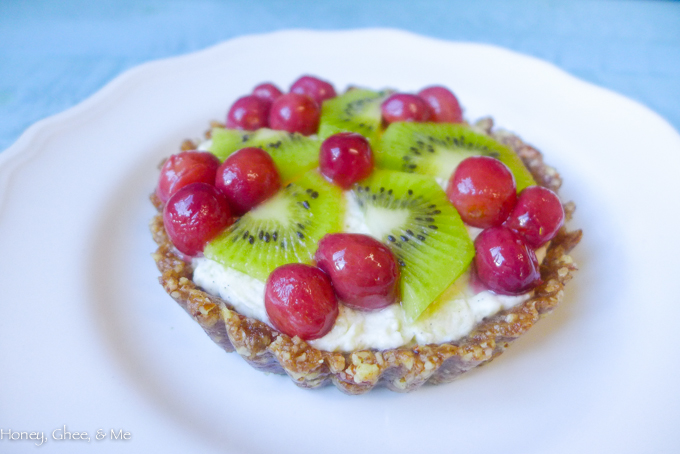
These grapes are both tart and sweet… I tossed them in some lemon and honey before roasting. If you don’t like tart, half the amount of lemon. I personally like the balance. It brings out the lemon in the filling, and brightens each bite as you gobble too!
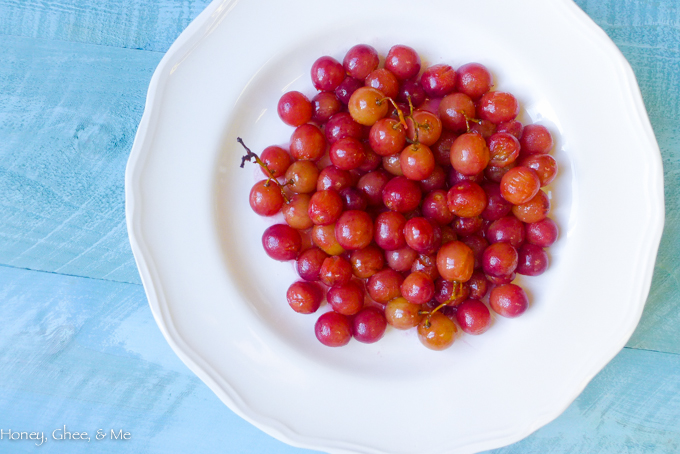
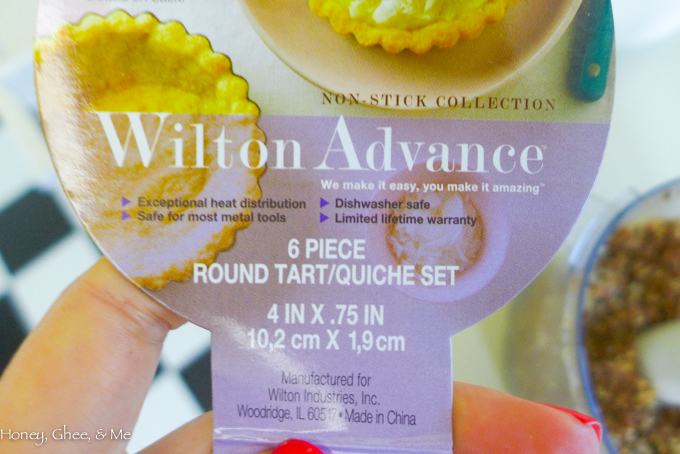
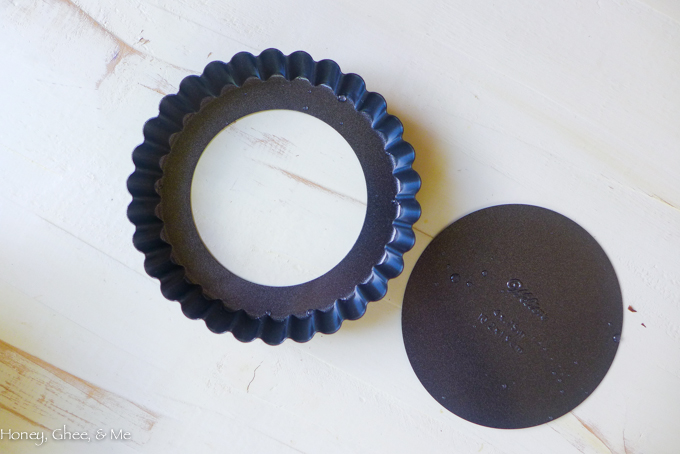
I wanted my little tarts to have the scalloped edging, to I used mini tart pans. Not only do they make ’em look cute, but more importantly, they make them super easy to remove. They have the removeable bottom, so the tarts slide right out of the pan without fail. I have THESE ones… I got them from Bed, Bath, & Beyond, but Amazon sells them too.
In this house, we were VERY pleased with how these turned out. Hopefully you love them just as much! ♥
makes four 4-inch tartlets
INGREDIENTS
for the crust…
1 3/4 cups raw whole pecans
6-8 whole dates (I like Medjools)
1 tbsp coconut oil
1/8 tsp sea salt
for the filling…
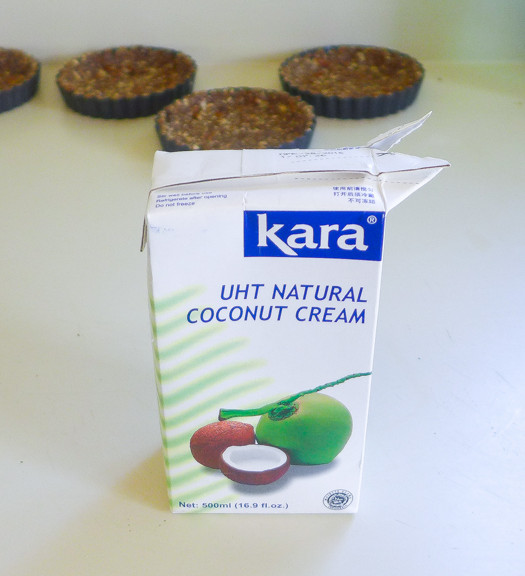
1 cup coconut cream, plus an extra tbsp or two (I used THIS one)
1 cup almond milk (unflavored)
1/4 tsp vanilla bean, from 1 pod (or 1 tsp extract or paste)
1/4 cup maple syrup (the real stuff)
3 egg yolks
2 tsp gelatin (unflavored)
1 tbsp water
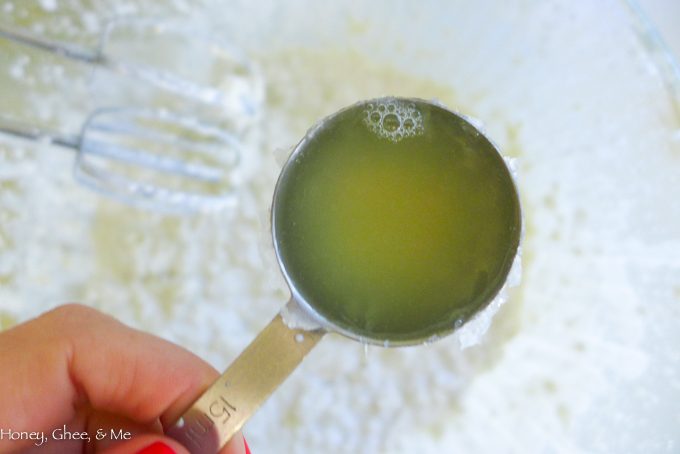
2 tbsp fresh lemon juice
for the topping…
1 bunch red grapes
1 tbsp fresh lemon juice
1 tbsp honey, plus more as needed
1 tbsp coconut oil
2 kiwis, sliced
equipment: mini tart pans (I use THESE), food processor, and electric mixer
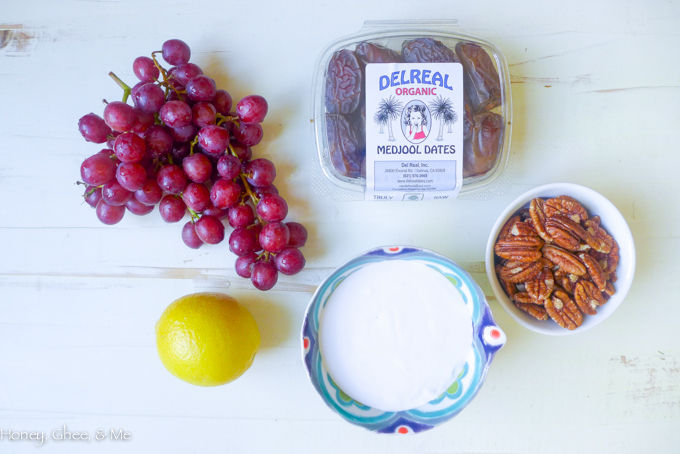
Sometimes visuals help… so here’s the coco cream and tart pans I used 🙂
Having the removable bottom is key… makes everything SO much easier ♥
DIRECTIONS
{The filling needs to sit overnight, or at least 6 hours, so this is typically a two-day recipe…
always good to know before starting! I make the crust and the filling the
first day, then finish the filling and prep the food the second}
Day 1:
To make the crust…
Remove the pits from the dates- they’re super easy to pull out from the centers
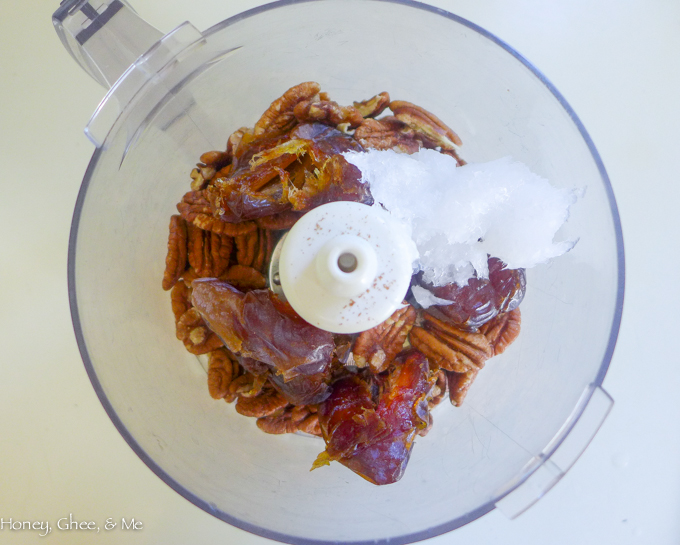
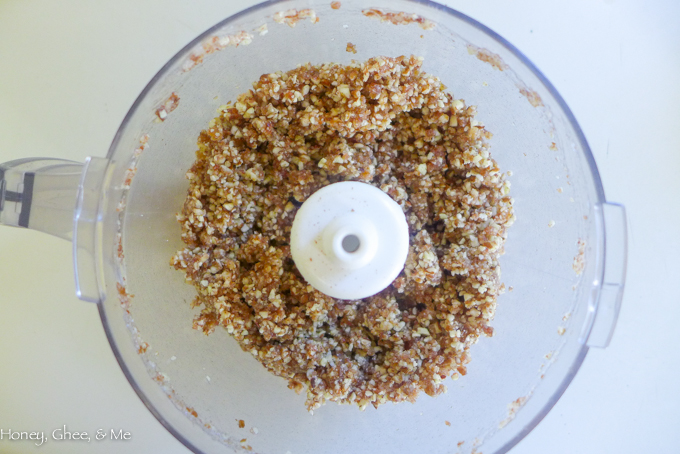
Add the pecans, dates, coconut oil, and salt to a food processor
(If yours is funky like mine, you may want to begin by chopping the pecans first,
then adding the remaining ingredients funky processors sometimes
have a hard time cohesively blending nuts and dates together)
I wrote 6-8 dates in the ingredients list because you may need to adjust,
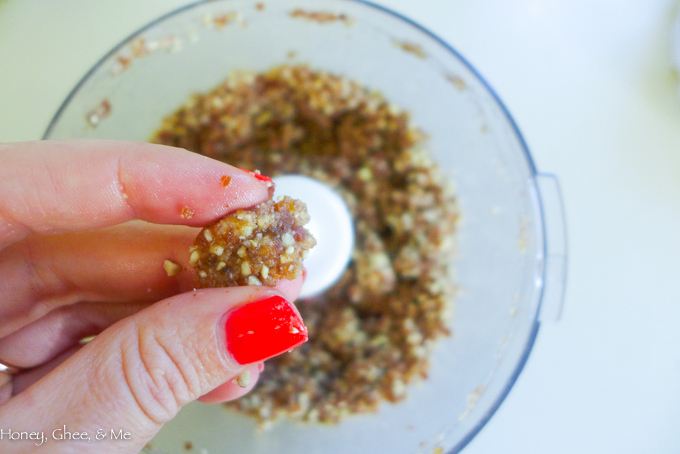
depending on the size and freshness of them… you want a sticky texture
It should stay together when pinched
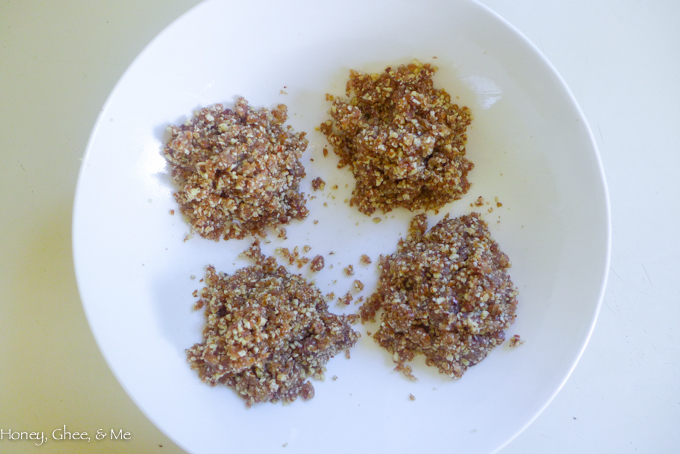
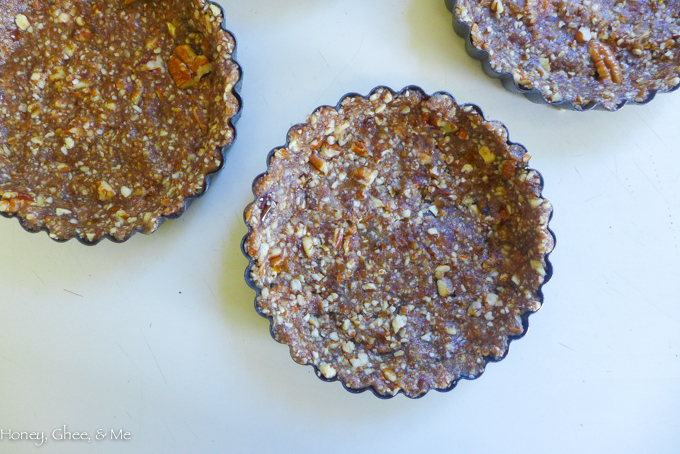
Roughly divide the ‘dough’ into four…
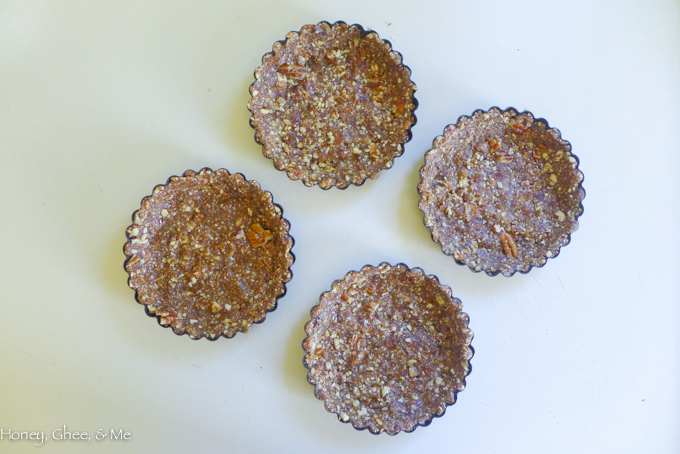
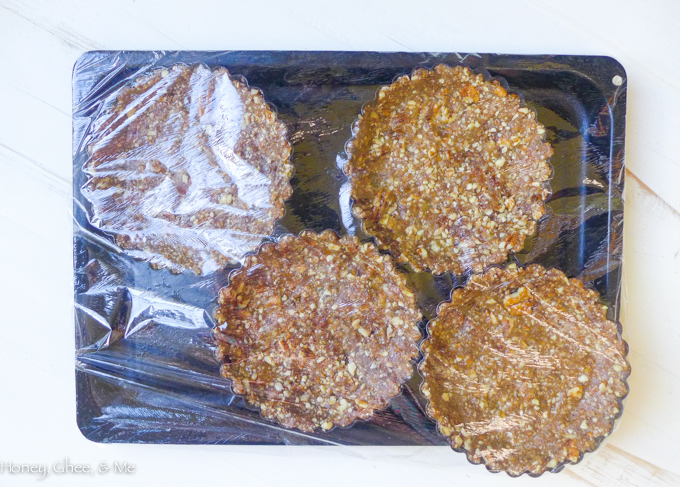
Press the ‘dough’ into each pan, pushing up all up along the sides and bottom evenly
You’ll notice there are a few pecan chunks in mine… I didn’t mind (thanks, crappy processor),
but yours will likely be smoother. I’ll just call mine the ‘rustic’ version 😉
You’re done with the crusts now… set aside
To make the filling…
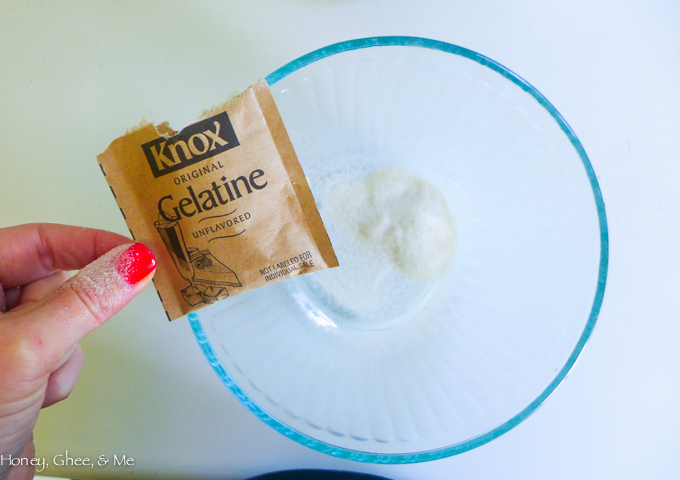
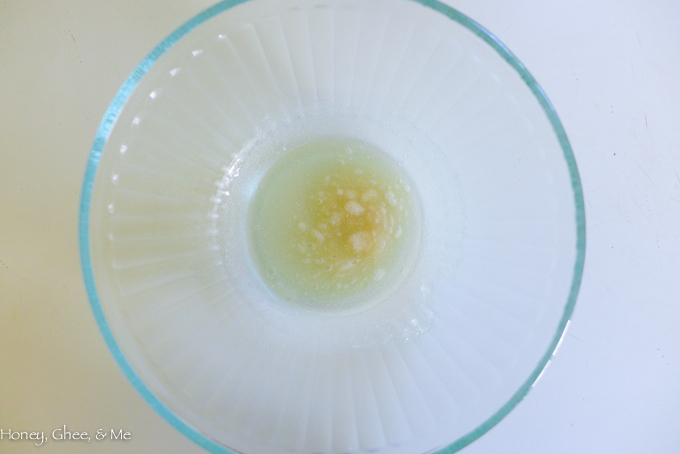
In small bowl, add the gelatin and water together
Set aside while you prep the rest- it will thicken
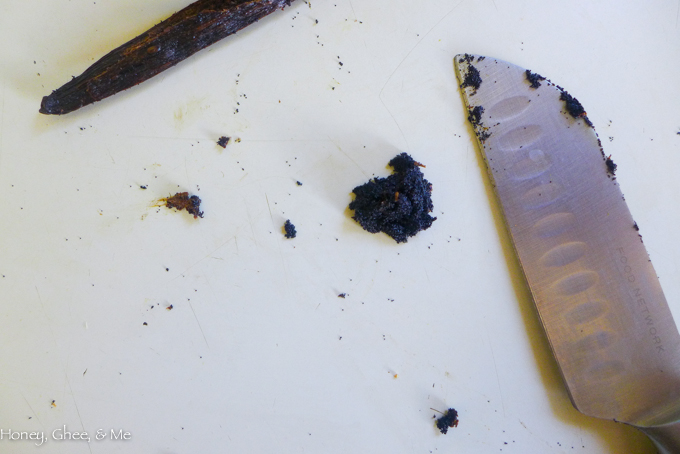
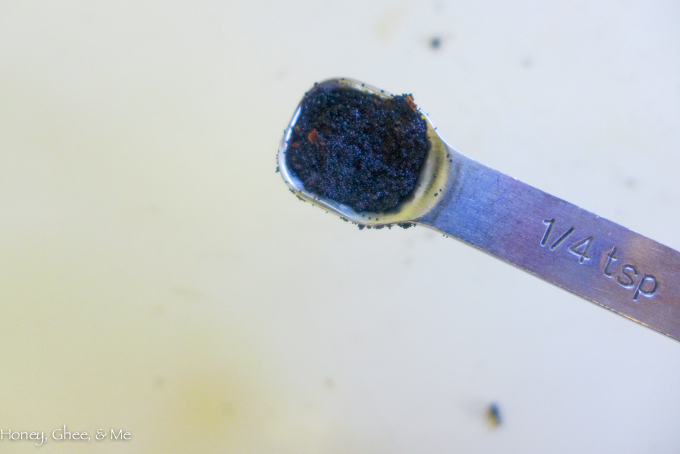
Scrape the vanilla out of the pod using the back side of a knife
You should get approx 1/4 tsp…
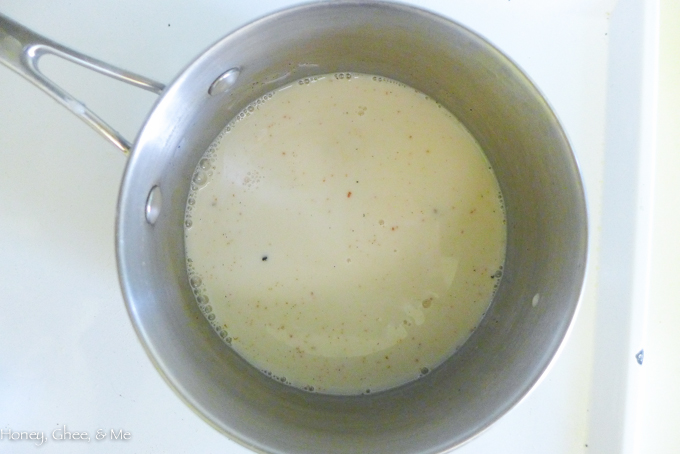
Add the almond milk, vanilla bean, and maple syrup to a pot over medium heat
Heat for approx 5 minutes, stirring every so often
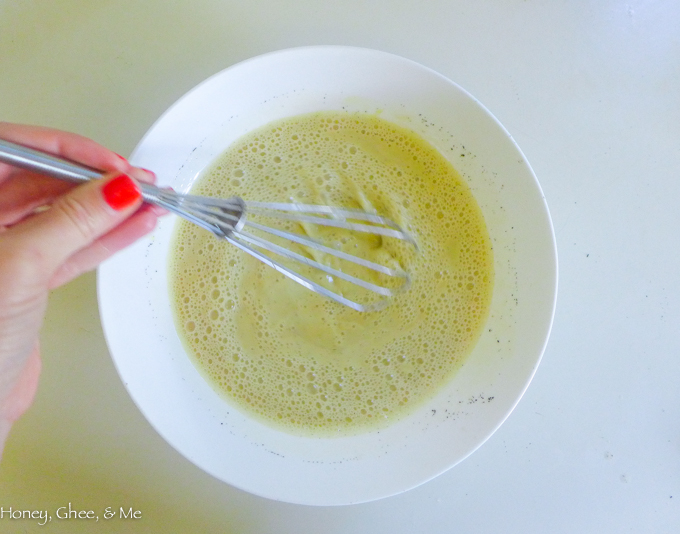
Meanwhile, whisk the egg yolks
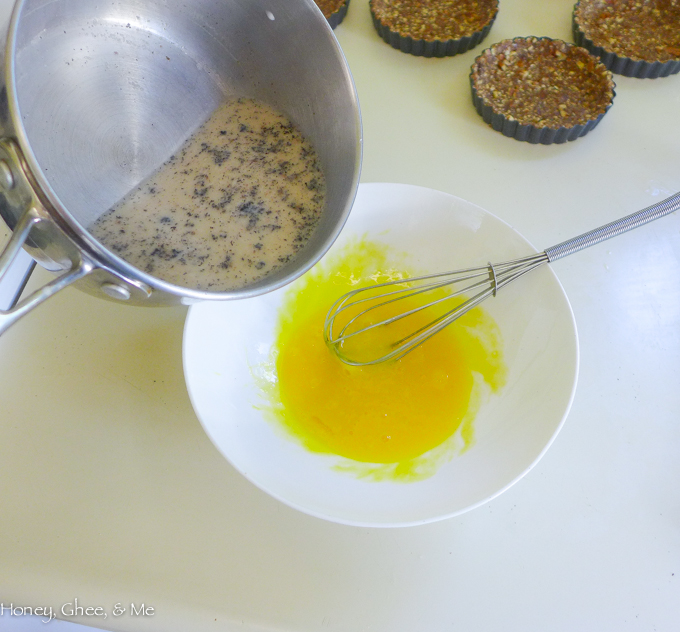
Very slowly pour the milk mixture over the eggs, whisking quickly the entire time
(This is important- the warm milk has potential to cook the eggs if they aren’t whisked continuously)
Whisk whisk whisk!
Scoop the gelatin into the mixture… it’ll be hard and rubbery now, but no biggie
Yep, you guessed it… more whisking!
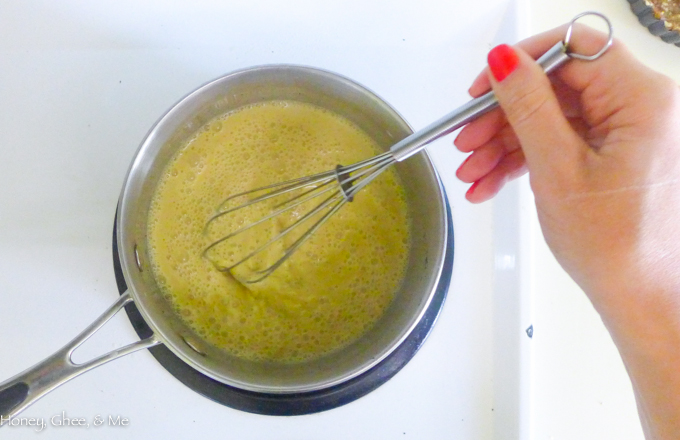
Pour the mixture back into the pot, still over medium heat, for approx 5 minutes
Lightly whisk to make sure things are staying happy in there 🙂
You’re done whisking!
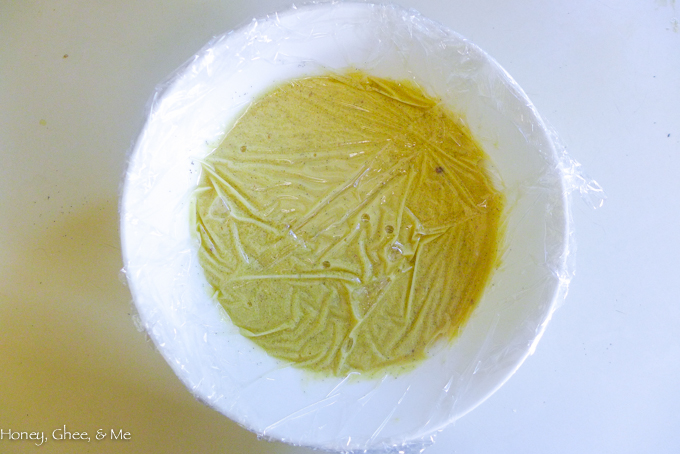
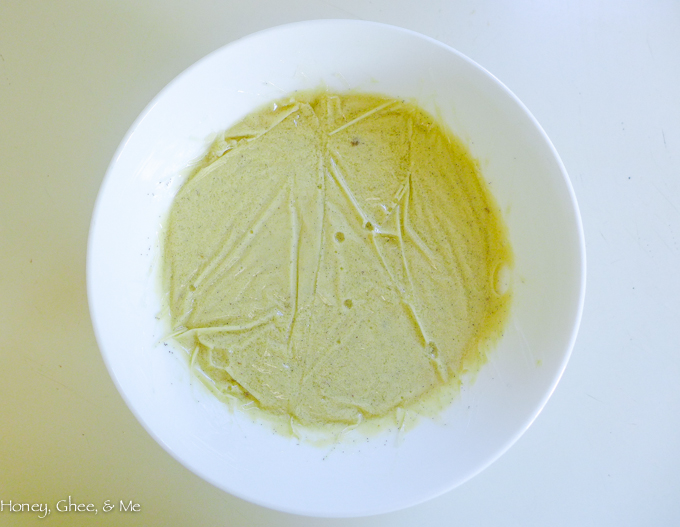
Pour the mixture into a bowl, then cover with Saran wrap…
You want to slay the plastic wrap directly over the liquid to prevent hardening over the surface
Get it as snug and cozy as you can, then refrigerate over night (or for at least 6 hours)
Seal up the crusts, plop in the refrigerator, and go to sleep
(Or whatever it is you’re going to do while these guys hang out and chill)
Day 2:
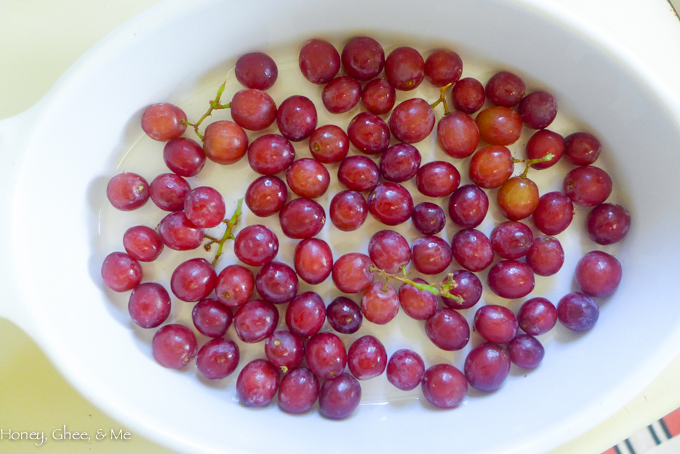
Time to roast the grapes…
Preheat oven to 375 degrees
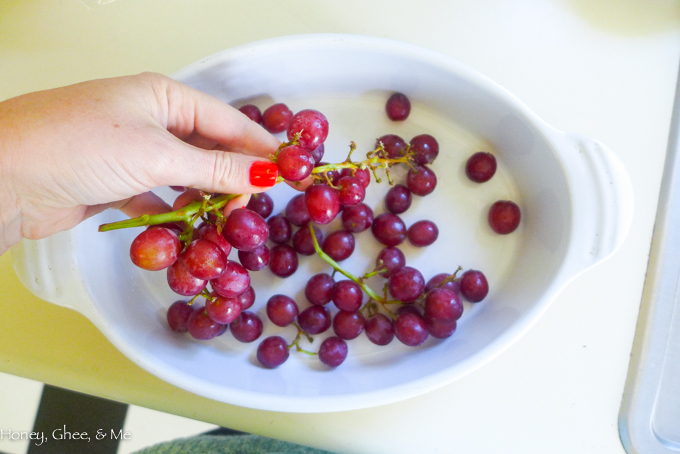
Remove the grapes from the stems
I purposely kept a couple small guys on just for looks 🙂
Add coconut oil, honey, and lemon
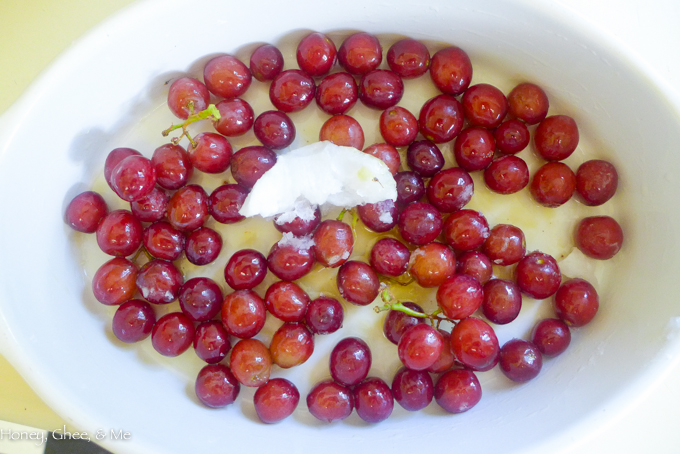
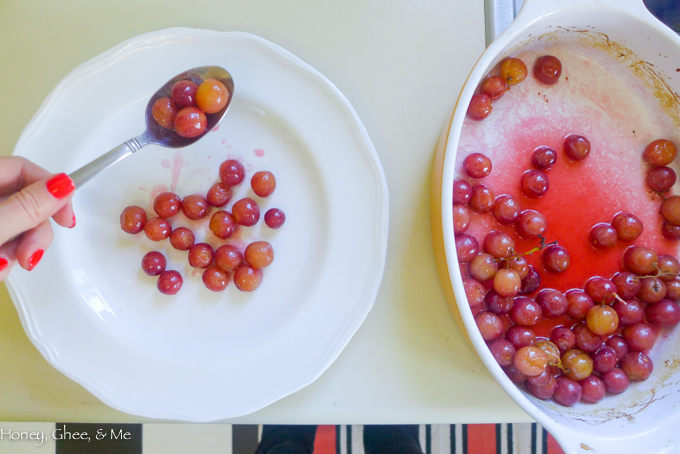
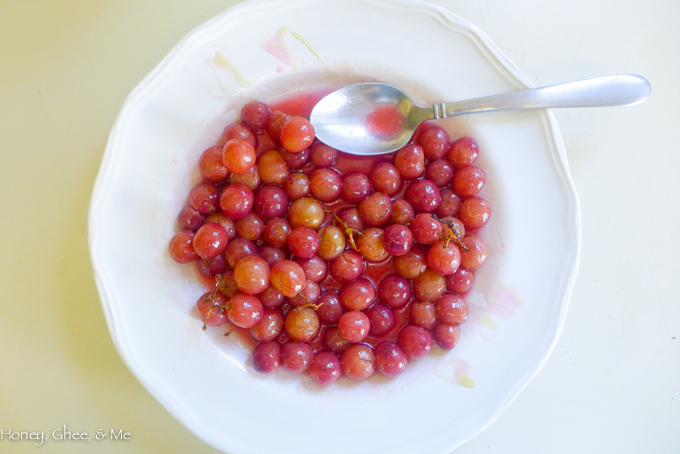
Roast for approx 20 minutes, until the skin just starts to pop open
(There’s no right or wrong way here- error on less time if you want plump whole grapes)
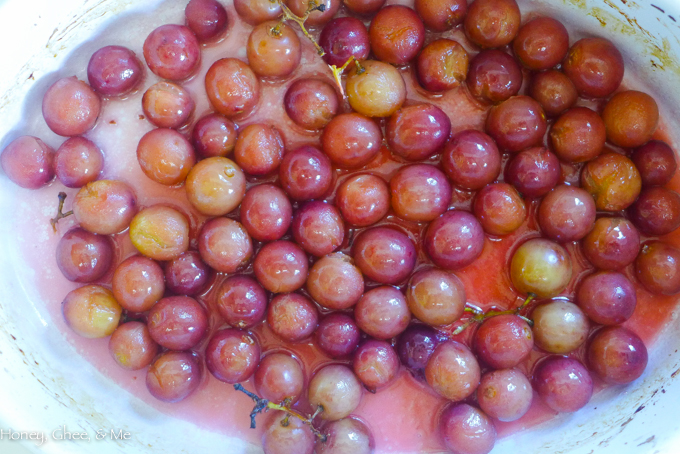
Transfer grapes to a plate to cool
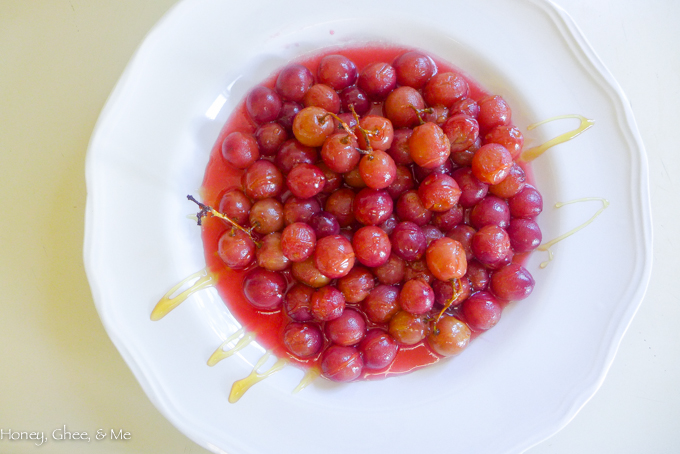
(Keep that sauce… it’s great drizzled over the tarts!)
As they are right now, they’ll be a bit tart
Add a little honey to sweeten them up a bit… a tbsp or so, to your liking
Toss to coat, then set aside to cool
For the filling…
Remove the custard from the fridge and toss the plastic wrap
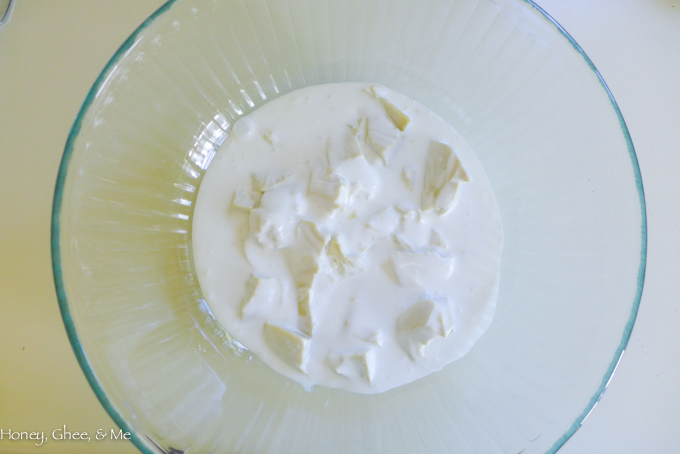
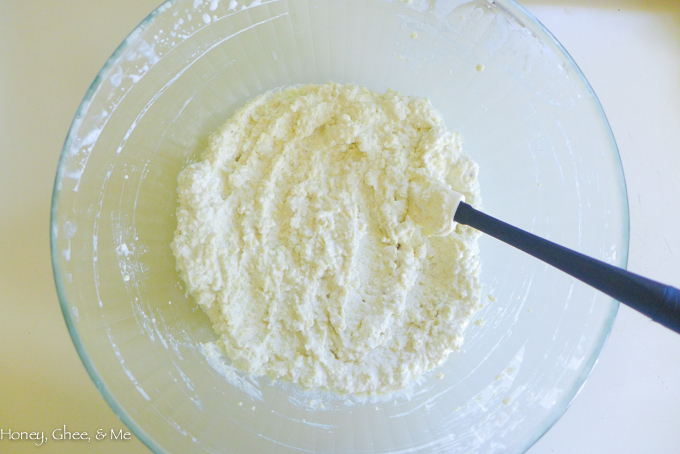
Mix the custard and coconut cream in a large mixing bowl
The custard will be very thick and chunky at this point
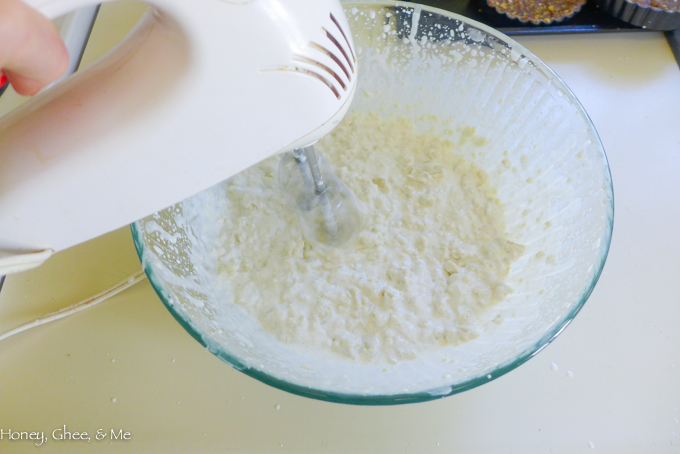
Using an electric mixer (or stand mixer), blend the cream and custard together
Warning: this may get messy 😉
Add lemon
Blend until smooth… if needed, add an extra tbsp or two of coconut cream
(It may look a tad chunky still, that’s okay. It’ll taste great once chilled!)
Remove the crusts from the fridge…
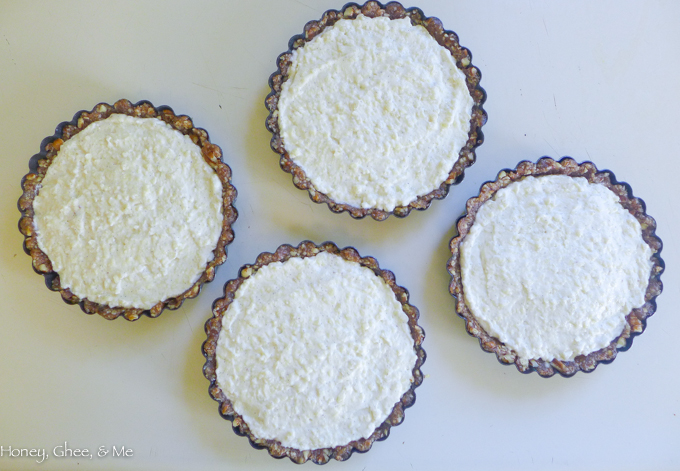
Spread the filling into each crust until full
If you have any remaining cream filling, just eat it while you cook… that’s what I did 😉
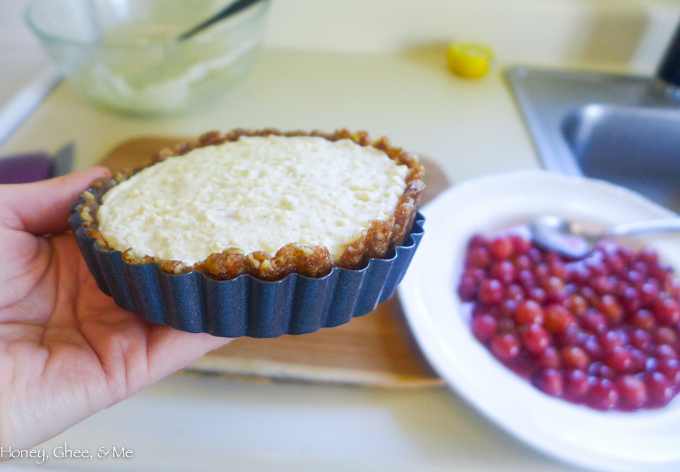
The beauty of these little pans is they make anything that’s in them pop out super easily…
No messes, no struggles. Phew.
For the topping…
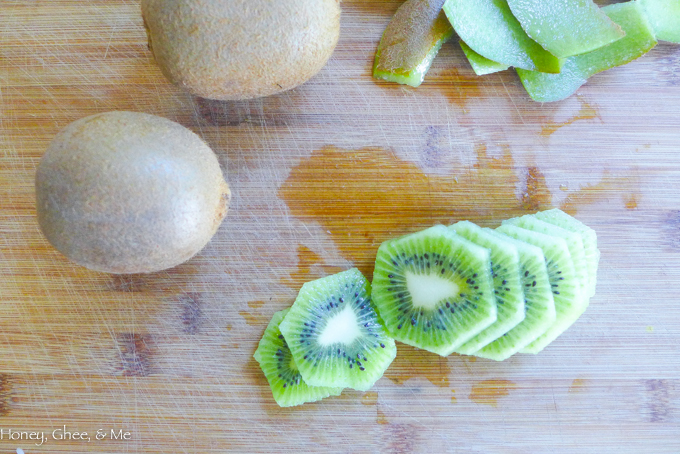
Slice kiwis
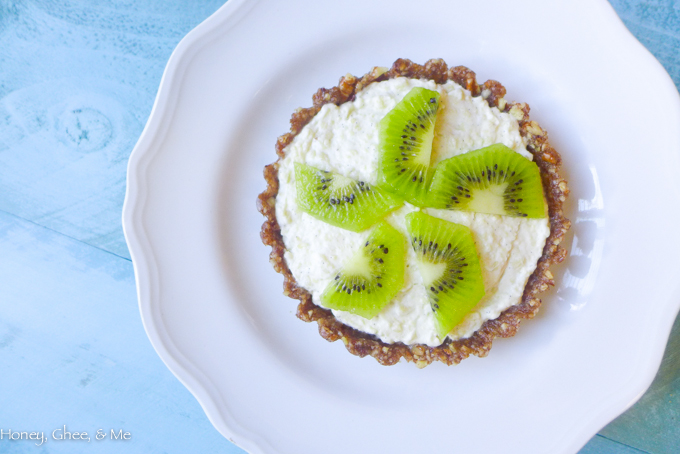
Lay them out over the tops however you wish
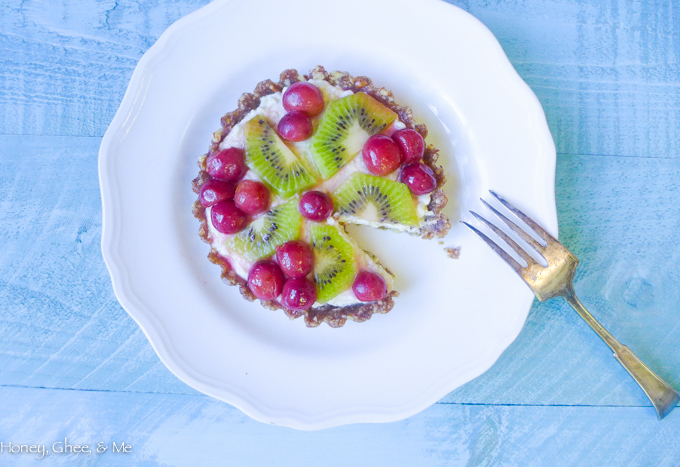
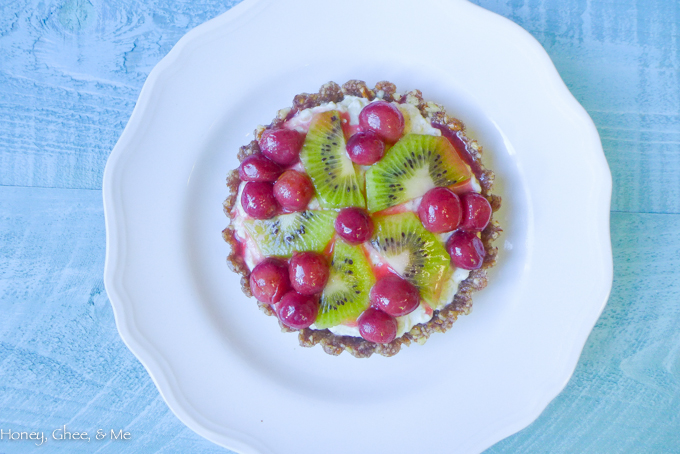
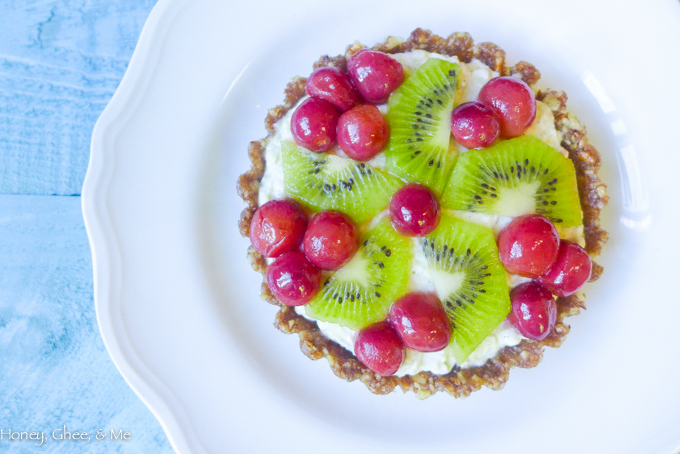
Top each tart with some roasted grapes and sauce if you’d like too…
That’s it… enjoy!!
(Store leftovers in the fridge for up to a few days)
