I love tarts! A tart is technically an open pastry with a filling of some sort. They can be sweet, savory, or you guessed it, tart. I think my favorites are the savory ones. I can easily convince myself that eating a savory pie for breakfast, lunch, and dinner is legit. 😉
This particular tart was influenced by:
1- the insane bounty of tomatoes I currently have growing on my patio.
2- the Martha Stewart appearance I recently saw on the Today show where she showed some snippet of a tomato tart. I immediately found myself determined to craft one up.
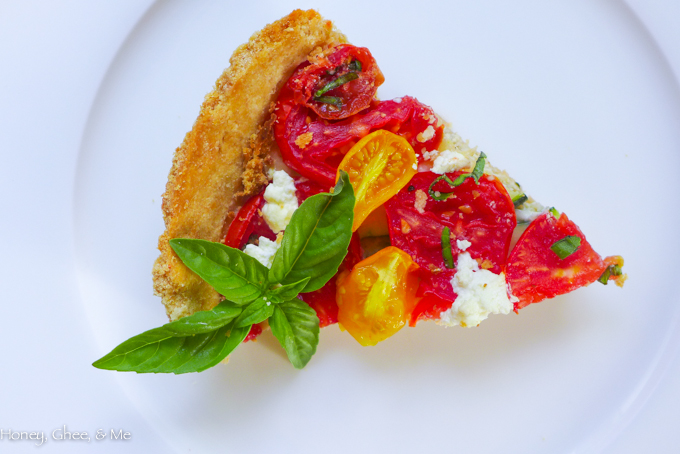
So a few weeks later, still determined to create, I tried my hand at one… not just a tomato tart, but a tomato and zucchini tart filled with a roasted garlic and basil ricotta. ‘Cause ricotta. ![]() I also experimented around with some crusts… I wanted to make one that could be enjoyed by all, gf or not. So I made a cassava flour crust (ground yucca, so it’s grain-free, gluten-free, nut-free, and pretty much everything else free too). I get my cassava flour from Otto’s Naturals. I love the stuff. While it doesn’t taste exactly like an all-purpose flour crust, it’s pretty awesome in that it tastes pretty darn similar, and is made the same, meaning you can use cassava and all-purpose wheat flour interchangeably. So your choice, use whichever you want.
I also experimented around with some crusts… I wanted to make one that could be enjoyed by all, gf or not. So I made a cassava flour crust (ground yucca, so it’s grain-free, gluten-free, nut-free, and pretty much everything else free too). I get my cassava flour from Otto’s Naturals. I love the stuff. While it doesn’t taste exactly like an all-purpose flour crust, it’s pretty awesome in that it tastes pretty darn similar, and is made the same, meaning you can use cassava and all-purpose wheat flour interchangeably. So your choice, use whichever you want. ![]()
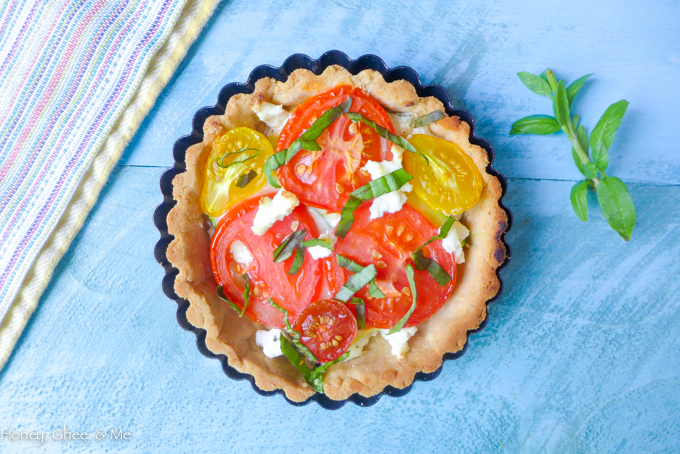
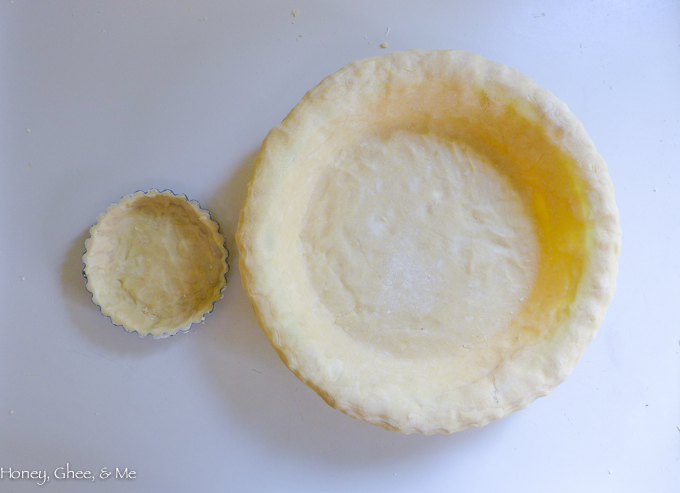
One important thing to note! I have tried this recipe out as both a large tart and as little minis. The first batch- the large one- taught me a valuable lesson. While I knew I was creating a tart- and thus should use a tart pan- I opted to just use what I had on hand instead- a regular pie pan. DON’T do this. A tart pan is shallow in depth, so the crust perfectly fits the small amount of filling that goes into it. It’s shaped in a manner that works marvelously for lightly filled pastries, like this one. A pie pan, on the other hand, is deep, meant for lots of filling. So what you’ll end up with is a lot of flaky crust just hanging out there, cracking, with no purpose at all. Since the filling won’t go all the way up the crust, not only with the crust flake, but it will be bare. And no one likes a bare dry crust with no filling! No one. ![]()
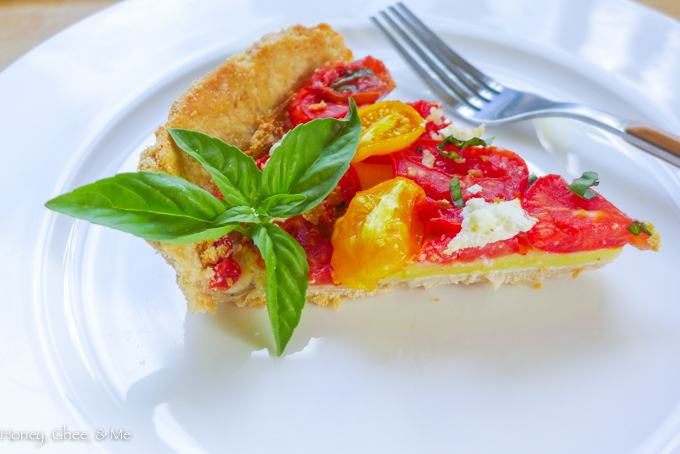
So please, do yourself a favor and use a tart pan! This recipe can be made as one large tart that is cut into individual pieces, or as many small tarts perfect for single size servings. Both are great, just depends on what you want. For the minis, I used mini tart pans- they’re 4″ by .75″ – these guys here. They worked like a charm. (Check out Marshall’s, Ross, etc. for deals on these types of things- they usually always have them!) For the minis, I cut the zucchini down to fit, and used less tomatoes per tart, but the method is otherwise the same. You’ll see below step by step directions for the mini tarts, and a visual of why NOT to use a pie pan. A large tart pan is great too… like this one here. ![]()
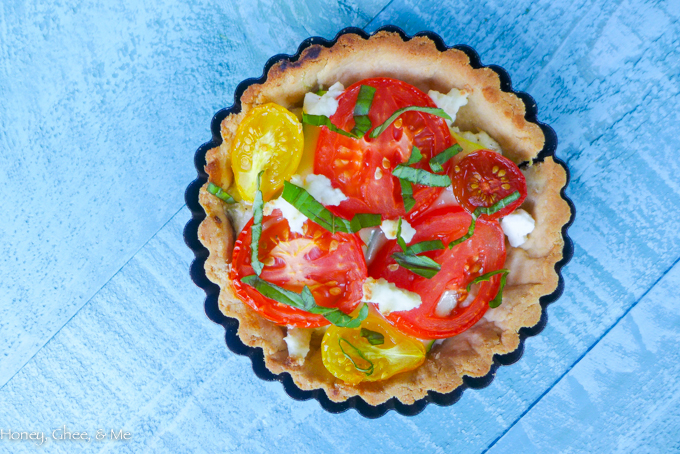
These tarts are great served warm out of the oven, or served chilled too. I made another large one and just kept it in my fridge to have on hand for a light lunch, breakfast, or little refreshing snack over the next couple days. It’s a great little lunch on the go! But, I’m also the type who loves cold pizza and spanakopita too… maybe I’m a freak. 😉
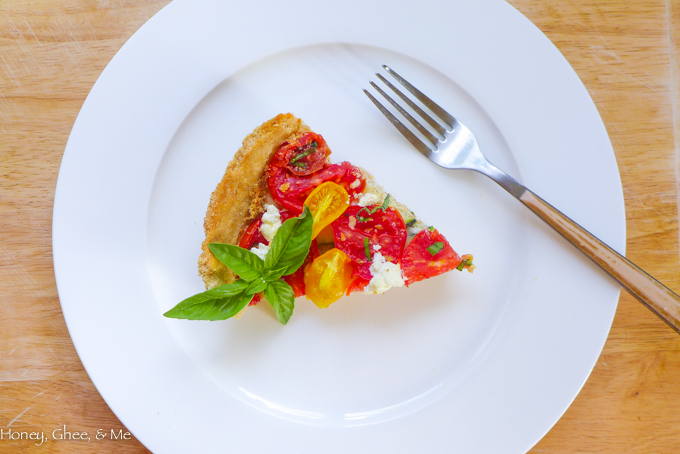
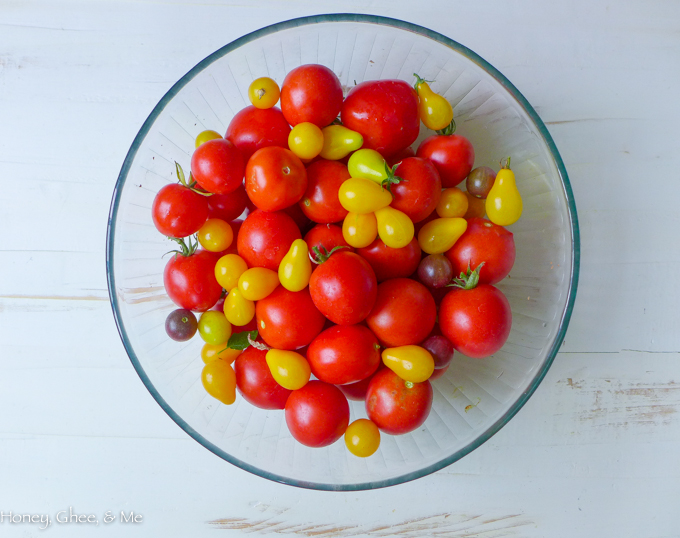
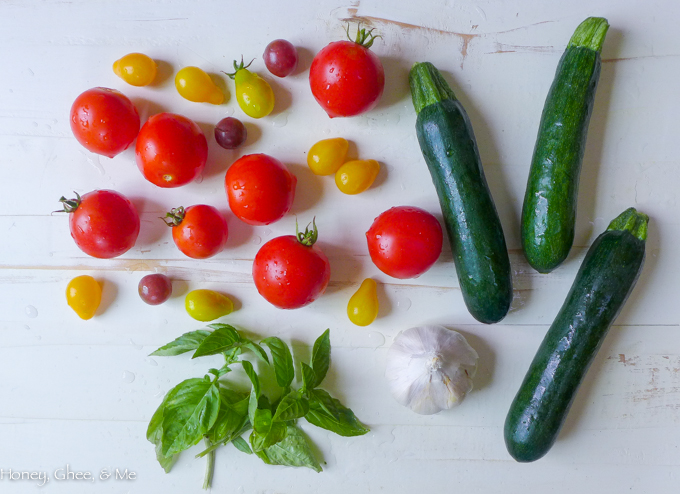
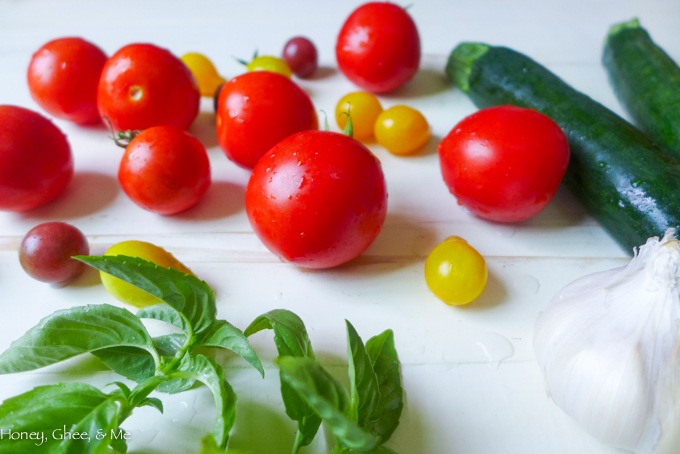
You can use any tomatoes you have on hand for this. Big, little, yellow, red, purple, striped, doesn’t matter. A mix actually looks beautiful in my opinion. This is the time of year for tomatoes, so use whatever you have and love!
makes 1 large tart or approx 6 minis
INGREDIENTS
for the filling…
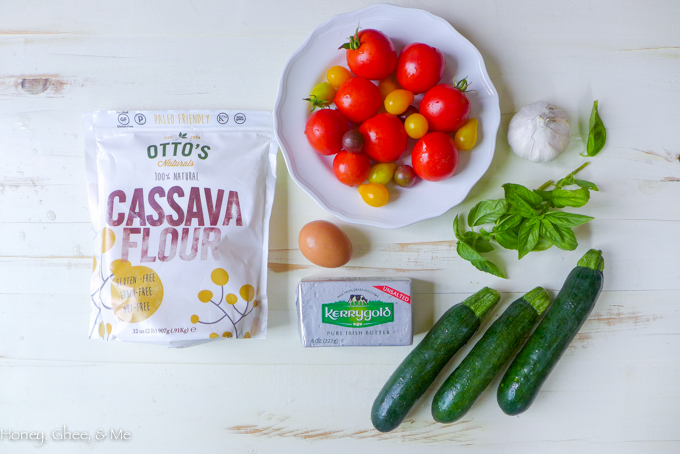
approx 10 small-medium tomatoes, varied sizes and colors are fine
2 zucchini, sliced lengthwise
1 large head garlic
1/4 cup ricotta cheese, plus more as needed
1 tbsp chopped fresh basil, plus more for garnish
1/4 tsp salt
1/8 tsp black pepper
1/4 cup grated parmesan (or other hard white cheese)
olive oil and salt, for roasting garlic
for the crust…
2 cups flour (find cassava flour HERE)
3/4 tsp salt
8 tbsp butter or ghee, chilled and chopped
1 egg
3 tbsp water
3 tbsp olive oil
*you’ll need a large tart pan, or several minis, like these here and here.![]()
DIRECTIONS
Preheat oven to 425 degrees
For the crust…
Add the flour and salt to a large mixing bowl
Stir, then add the egg, water, and oil
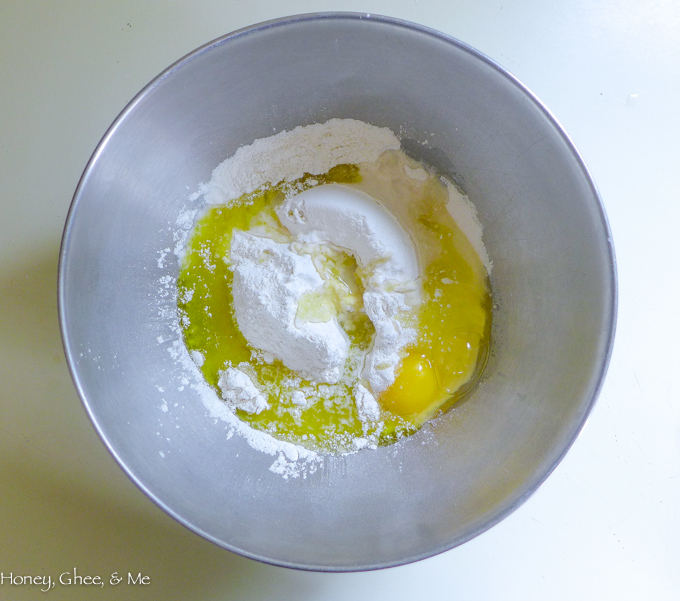
Give the dough a light mix with a standing or handheld blender
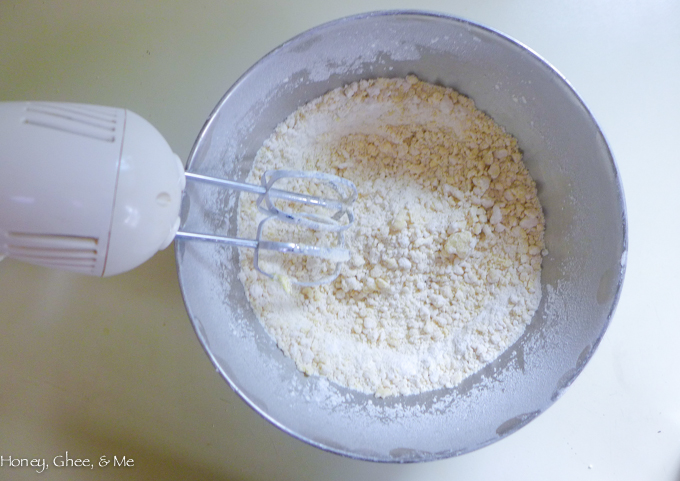
Add the chilled butter pieces
Mix for approx 30 seconds, until the dough is evenly mixed, but still slightly clumpy
(Once done, you should be able to pinch it and have it stick together like dough…
add a sprinkle of water if more moisture is needed)
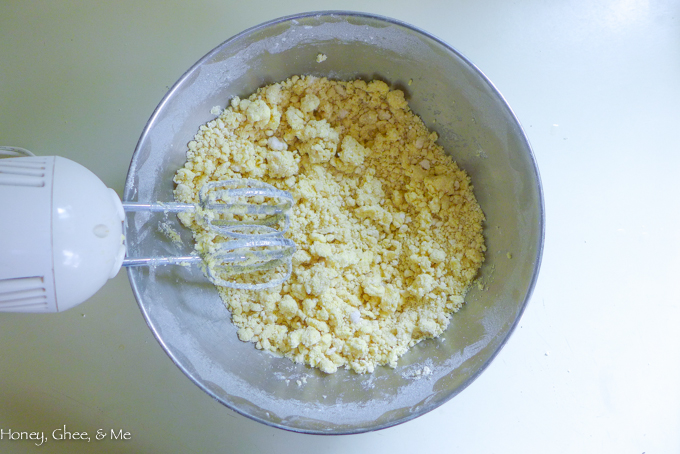
Knead the dough for about 5 minutes, until it turns into a smooth pliable dough
Unlike gluten doughs, cassava dough will not become springy, but it still likes the kneading love 😉
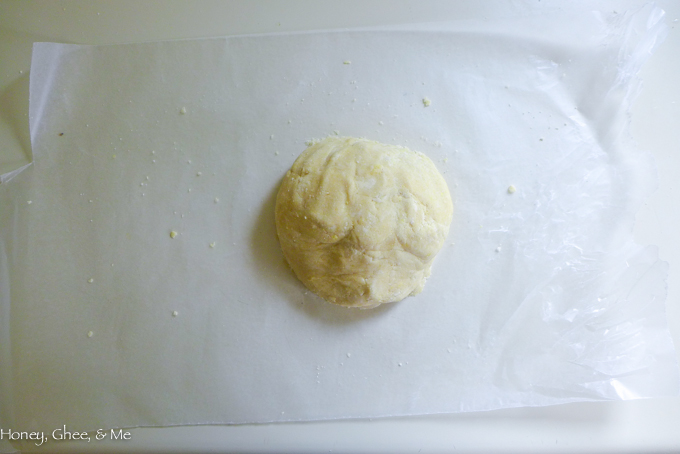
Form a ball, then wrap it with Saran while you prep the remaining ingredients
(Cassava doughs don’t need to rest & rise liker other doughs,
but this is a good excuse to work on the roasted garlic while it chills a bit)
For the roasted garlic…
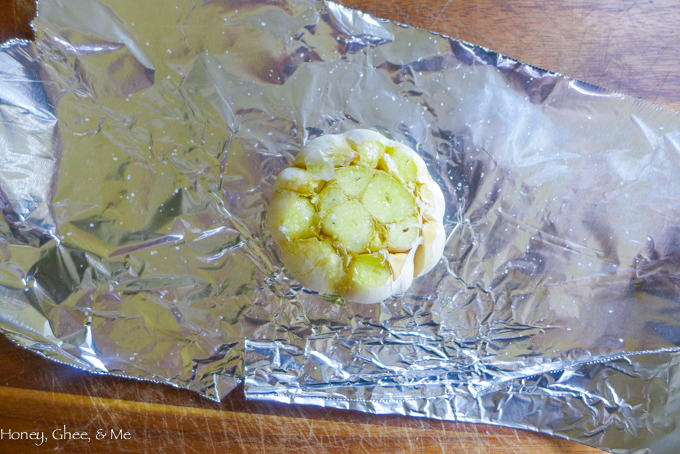
Slice the top the entire head of garlic so the cloves peek through
Drizzle a little olive oil over the tops, then sprinkle with a dash of salt
Wrap the head of garlic tightly in foil
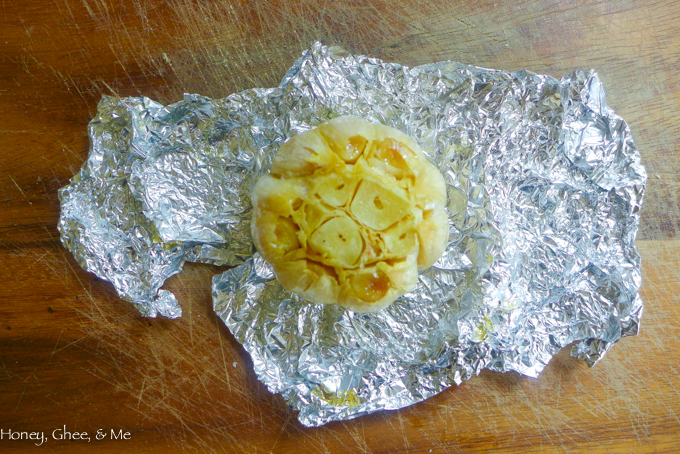
Place the wrapped garlic in the oven for 30-40 minutes
Once done, remove, carefully open the foil (it’ll be hot!), and let it cool
Meanwhile, grab that ball of dough from the fridge…
Lay some parchment or wax paper over your working surface for easy cleanup and transferring
Lightly flour the rolling pin and surface area (helps the pin not stick to the dough)
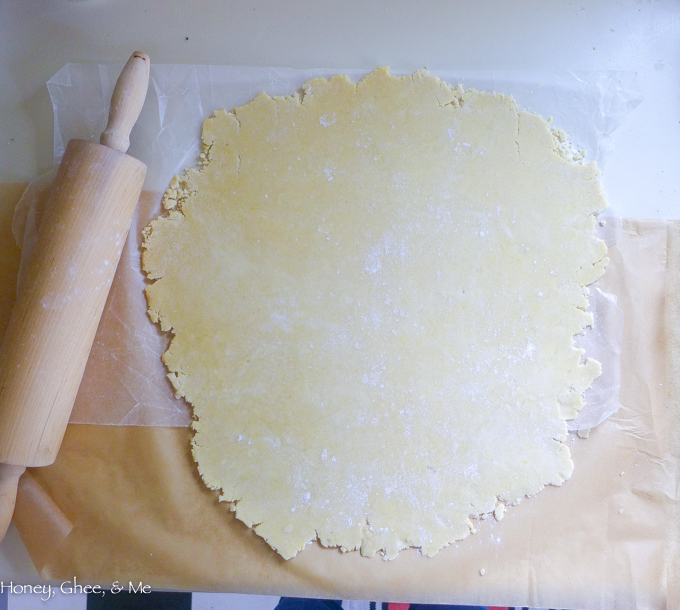
Roll out the dough as best as you can… you want it even and thin, approx 1/8 inch is good
Cassava dough tends to be drier than standard dough,
so it may take a little reworking here and there, but you’ll get it 🙂
For individual tarts, divi the dough into sections just slightly larger than the tart pans
Lay the dough over the tart pan, then press it evenly into the bottom and sides with your fingers
A nifty trick for the edges- roll the pin over the top to get rid of excess dough- it chops it right off!
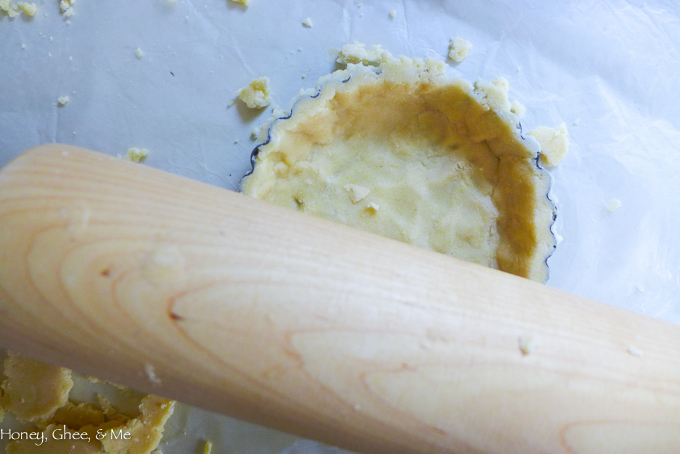
Here was my mistake, as noted in the intro…
For the larger tart, I used a regular pie pan the first time I made this, grrr
You really want a tart pan for this…
they’re shorter in depth, making them perfect for shallow dishes like this
A pie pan, on the other hand, leaves a ridiculous amount of space leftover with zero filling :/
So,whether you’re making large or small ones, do yourself a favor and use a tart pan…
you’ll see why shortly in my sad documentation of this pie pan tart below
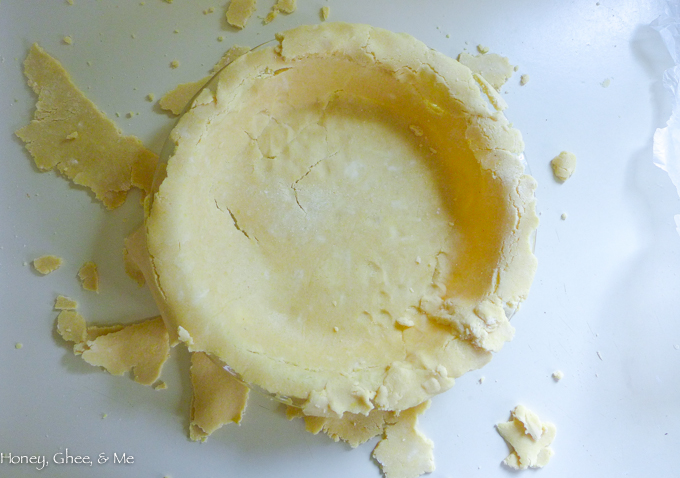
To transfer the large piece of rolled dough, flip the wax/parchment paper over the pan
As mentioned above, cassava dough tends to be a bit dry, so it may flake off a bit at the edges…
no worries, just fill in the areas where needed with the excess dough 🙂
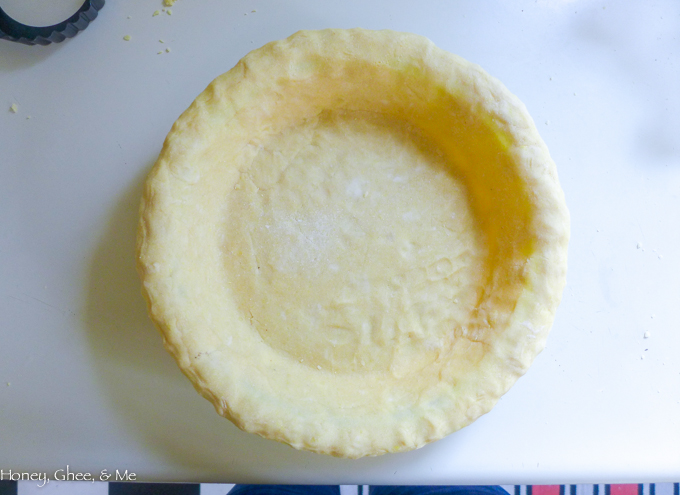
Using your fingers, press the dough into the sides and bottom until you have a smooth even crust
Place the crust on the middle rack of the oven for about 30 minutes (no matter the size)
While the crust is baking, prepare the garlic-basil ricotta…
By now, the garlic should be cool to the touch
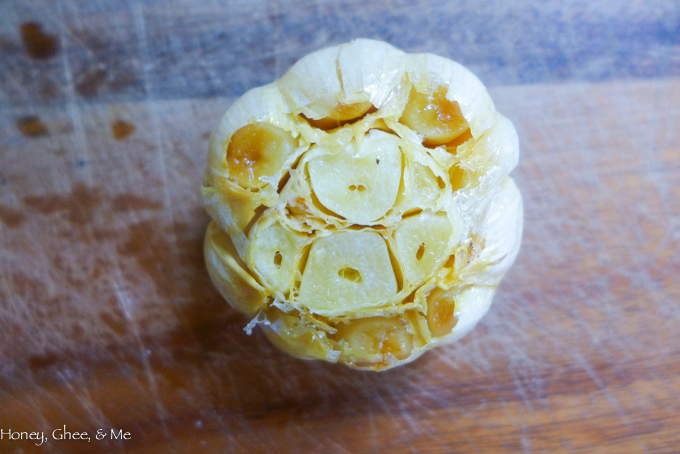
I love roasted garlic- the cloves will pop right out when you give the base a little squeeze!
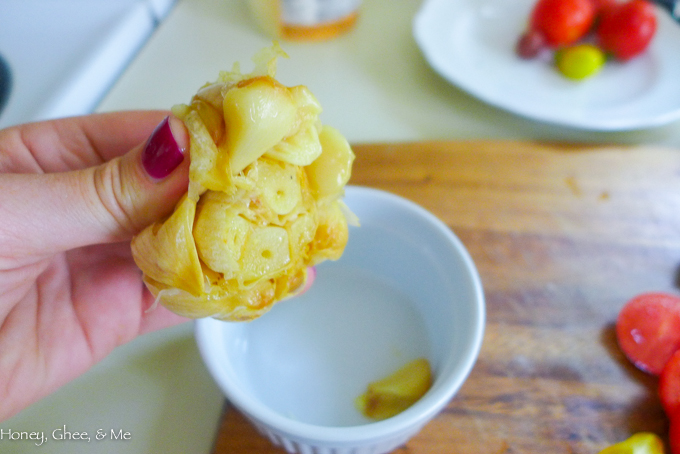
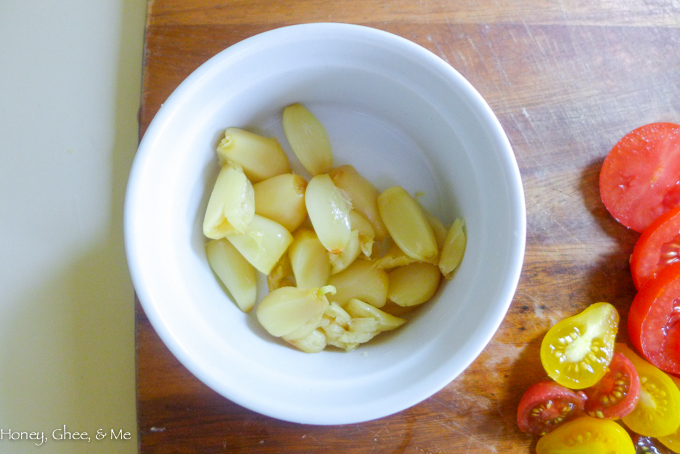
Squeeze all cloves into a small bowl
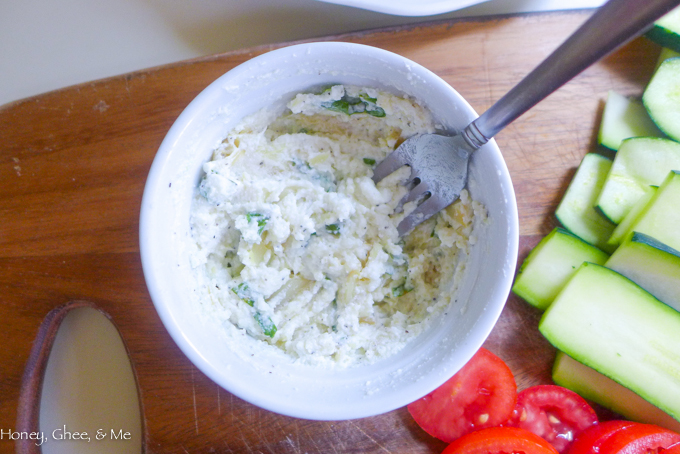
Add the chopped basil, salt, and pepper, then mash it together with a fork until mostly smooth
Taste and adjust seasonings as desired
Slice the tomatoes and zucchini- they should be approx the same widths
Remove crust from oven and you’re ready to assemble!
(Reduce oven temperature to 350 degrees now)
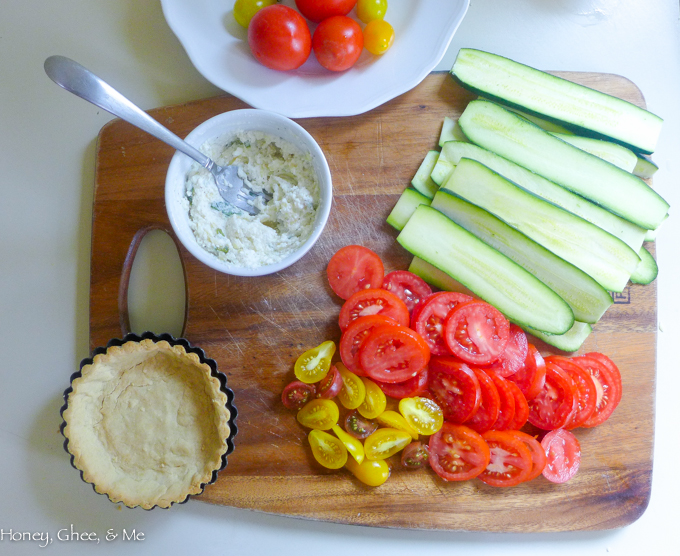
I’ll show you the minis first, so you can see how it all looks with a proper tart pan… 😉
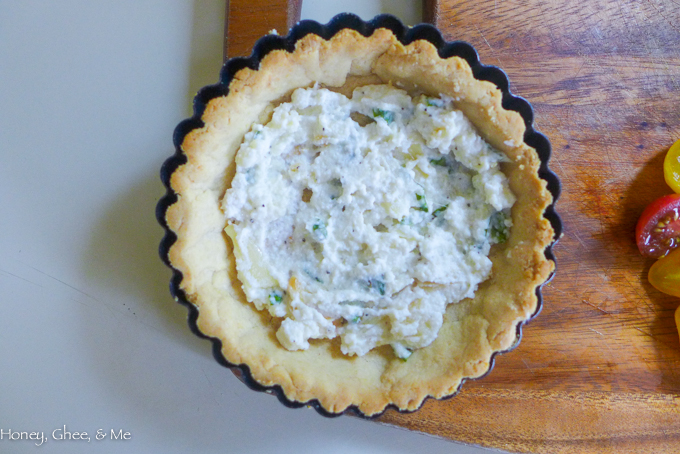
Spread a layer of garlic-basil ricotta down over the crust
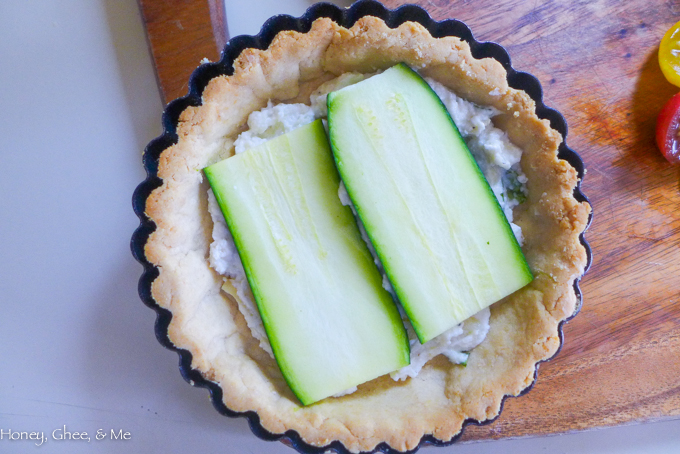
Top with a thin layer of sliced zucchini, cut to fit the size of your crusts
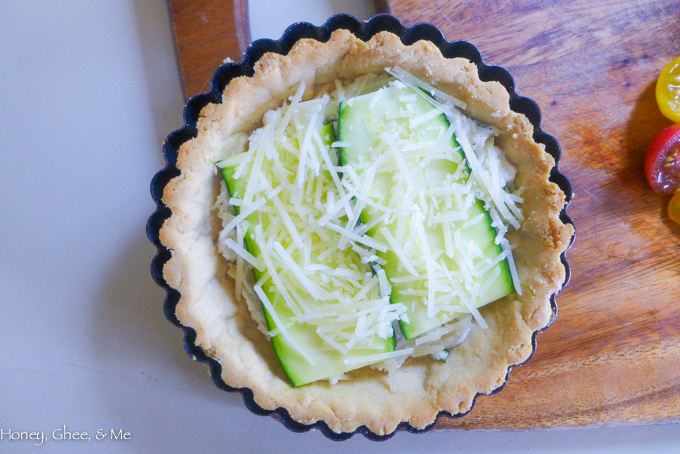
Sprinkle with some grated parmesan
Lay sliced tomatoes (or halved if teeny guys) over the top
Sprinkle with dots of ricotta… as much as you’d like 🙂
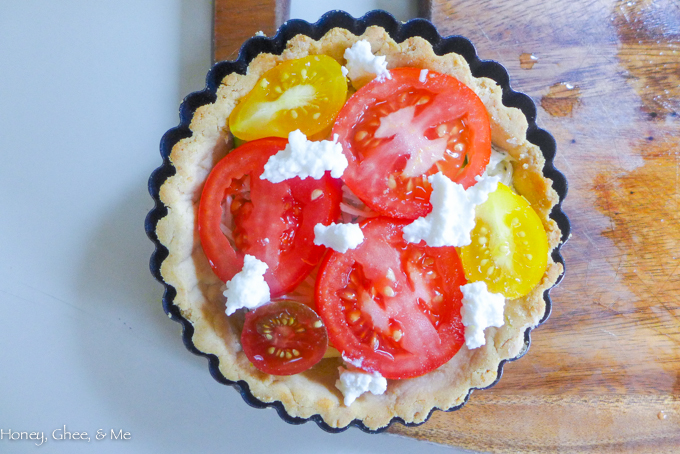
Place the tarts back in the oven (now at 350 degrees, in case you missed the note above)
for approx 30 minutes, until golden brown
If desired, crank heat at the very end to brown further, if desired
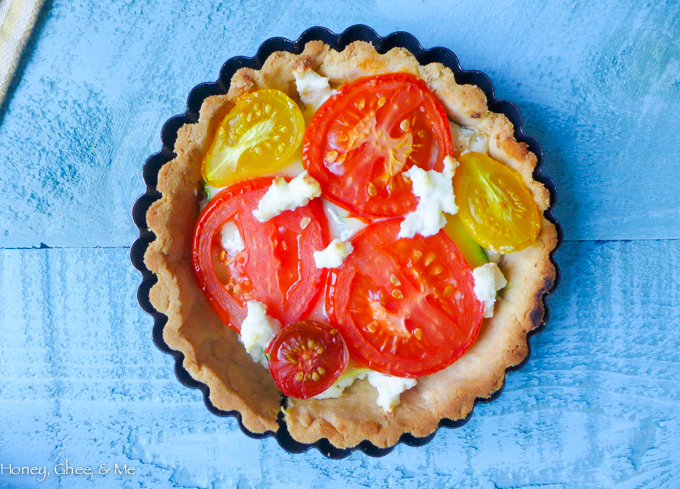
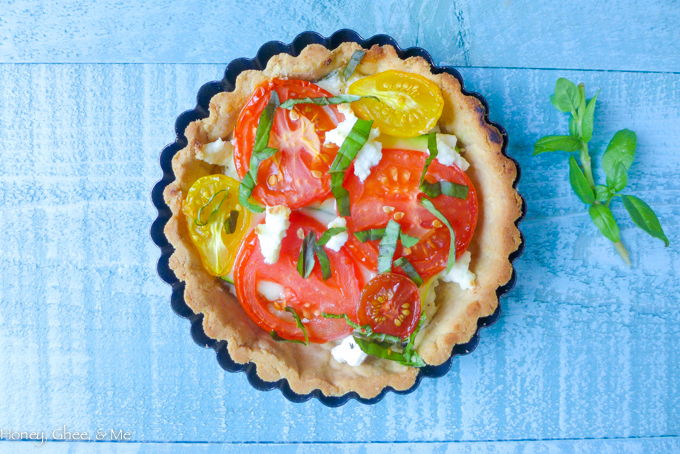
Garnish with chopped fresh basil…
Serve immediately, or serve chilled for another time 🙂
Now on to the why-you-should-not-use-a-pie-pan…
See that crust? Sad face.
All that crust turns mighty dry when not filled with something…
With a tart pan, this doesn’t happen
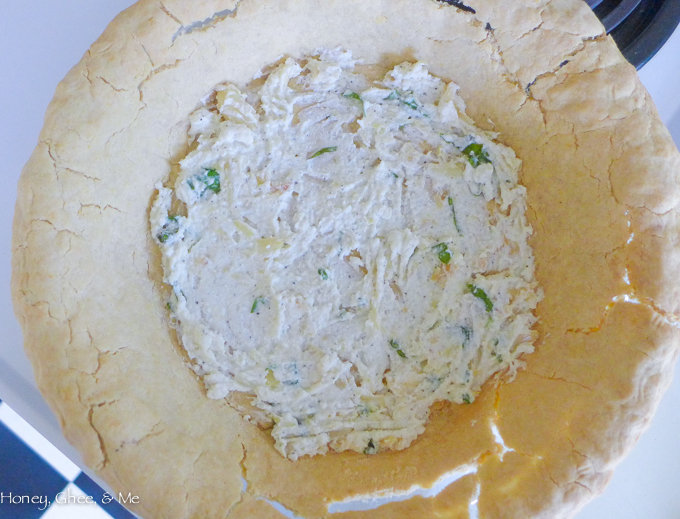
So while you can still fill it, just as you would a large tart, you’ll end up with all this extra crust…
dry flaky crust with nothing to keep it company in there
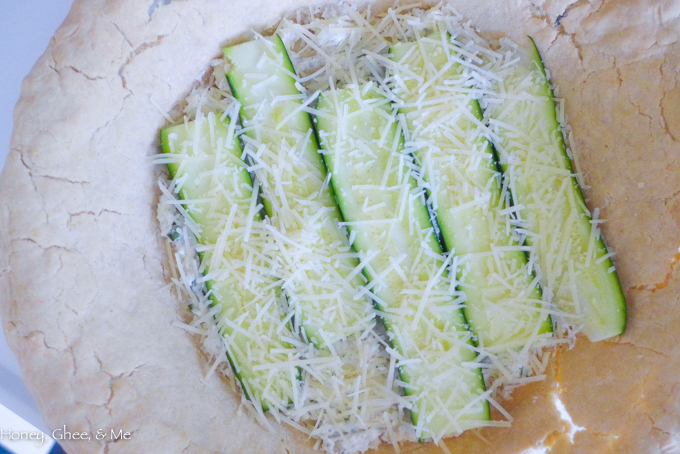
So unless you want to keep filling and filling, and filling and filling…
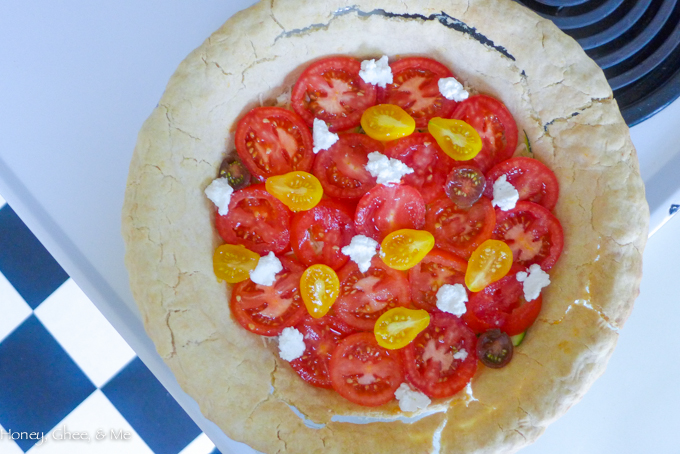
I’d recommend not using a pie pan ’cause you’ll end up having to slice off all the extra crust to
make it feel like a tart, which is a major waste of both dough and time
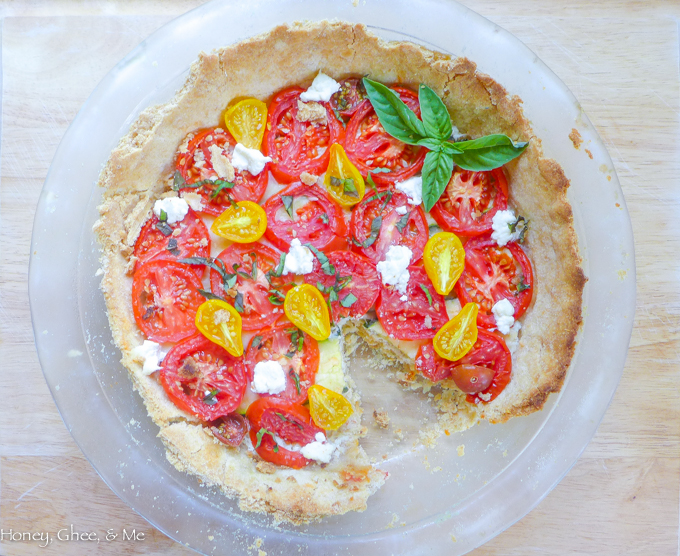
It’ll taste delicious, but it will look silly… and you’ll feel sad
So, that’s why you should use tart pans instead 🙂


Wonderful blog, great recipes, love the pictures!!! I am looking into integrating Cassava in my diet as a flour substitute and love some of the suggestions you have provided here. Thank you! x
Hi Ingrid, You’re so sweet, thank you!! I’m glad you found some useful tidbits. 🙂